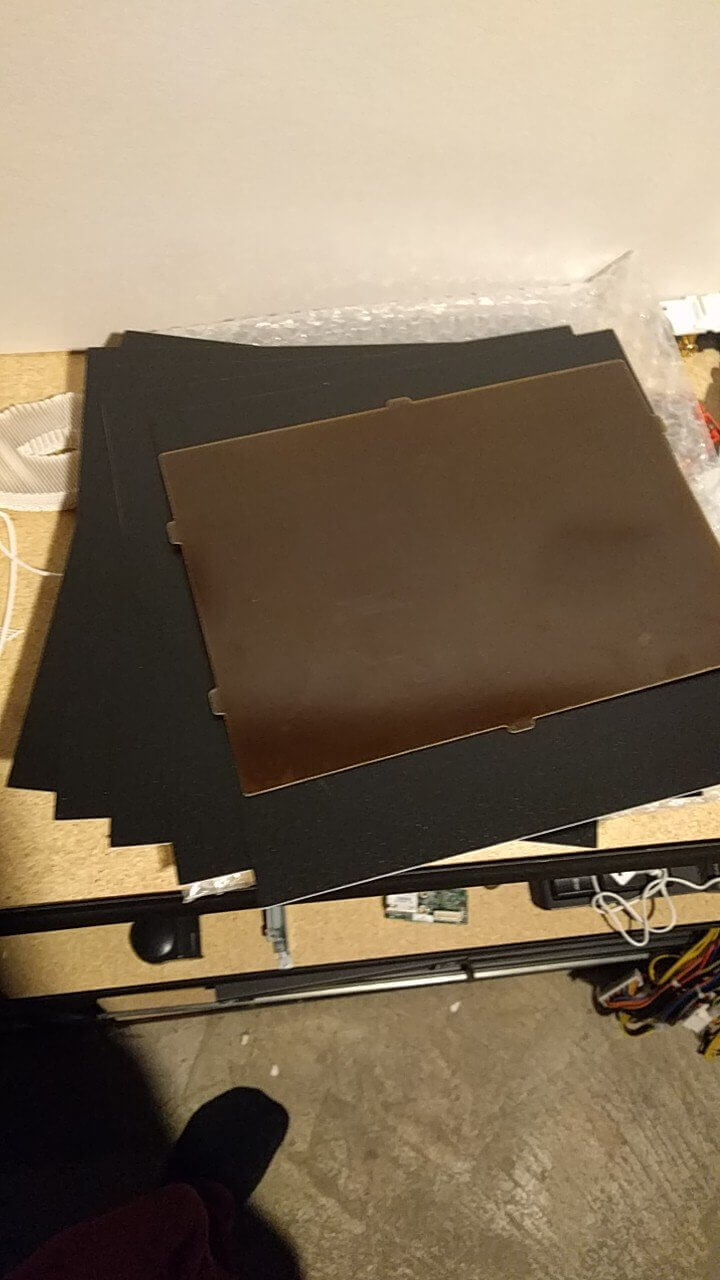
We received our new print bed from eBay/China. Not a Lokbuild but at least its cheaper. First thing I noticed is that this sheet is thicker than a Lokbuild, 0.6mm thick instead of 0.5. When I followed the steps on calibrating I clicked 6 8 times to ensure proper spacing instead of the original 4.
Robox Instructions:
-
Launch AutoMaker software and navigate to Calibration button
-
Follow instructions until asked to insert paper between nozzles and build plate
-
Follow instructions and raise nozzles to point at which paper moves freely between nozzles and build plate
-
Set height
468 clicks higher than this point (i.e. 0.4 mm) -
Proceed as normal
Edit:
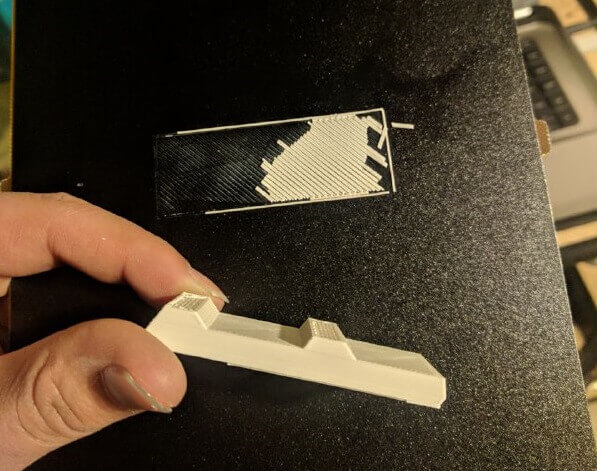
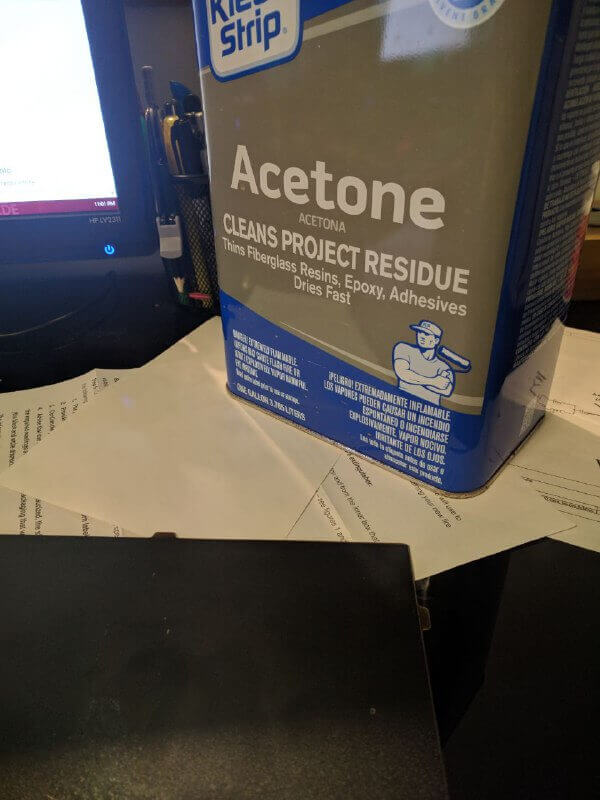
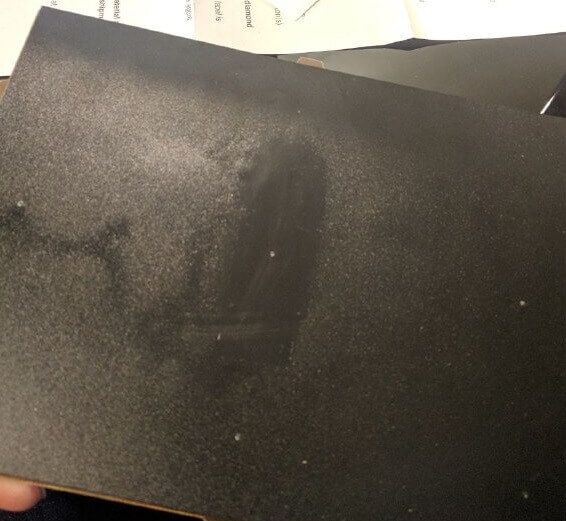
Turns out that 6 clicks was not enough, I was unable to remove the print without damaging it. Had to rip off the print and clean the sheet with a light dab of acetone. Trying once more with 8 clicks.