I will be using two Custom firmware routers to get full house coverage on a very old house with thick lead filled walls. The entire project took 6 hours due to some unexpected issues we faced. You can flash any device below as well to Merlin custom firmware but its entirely optional. This will work with the stock firmware.
Compatible Devices:
- TM-AC1900
- RT-N66U
- RT-AC66U
- RT-AC66U_B1 (same firmware as the RT-AC68U)
- RT-AC56U
- RT-AC68U (including revisions C1 and E1)
- RT-AC68P (same firmware as RT-AC68U)
- RT-AC68UF (same firmware as RT-AC68U)
- RT-AC87
- RT-AC3200
- RT-AC88U
- RT-AC3100
- RT-AC5300
- RT-AC1900 (same firmware as RT-AC68U)
- RT-AC1900P (same firmware as RT-AC68U)
- RT-AC86U (starting with version 382.1)
My friends house is so bad at this point his speed drops in half when he moves two rooms over from where the wifi is located. I originally wanted to run it on opposite corners on a vertical plane but he did not want to run ethernet lines up the walls.
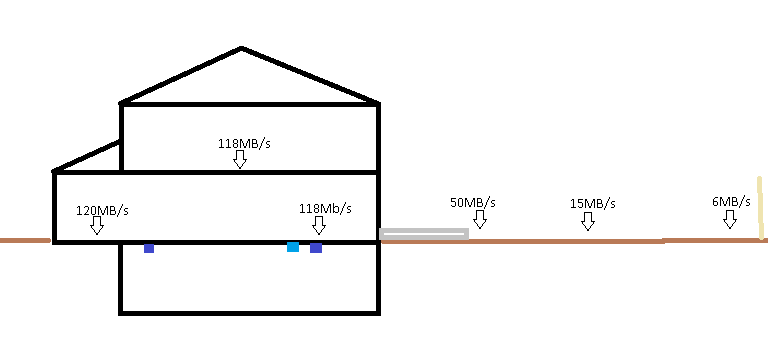
My other option was a powerline, but seems I cant find any that run decently yet for his house. A TP-Link AV1000 was only giving him a throughput of 30mbps, so this option was out of the question. My only alternative was to put the routers in the basement on opposite sides of the house like the image below in step 5.
For this setup I am connecting devices that roam the house to the 5ghz ssid (mywifi 5ghz) primary if supported. Then standstill devices like Chromecasts, google home, etc to the old 2.4ghz ssid (mywifi front/rear). You can flip flop this around if you would like. I prefer it this way rather than keeping the names the same because I notice issues with older devices moving around the house not wanting to switch to the closer signal.
Step 1: Moving the modem.
Before I get started on the modem setup, I just want to clarify the modem we use. I have a Motorola SURFboard SB6141 and my friend has a SB6121. These modems are cheap on eBay/Amazon and save us from the modem rental fee’s on our bills. They also act as dedicated devices unlike the router/modem combos given to us by our providers, Thus allowing lower latency connections to the internet.
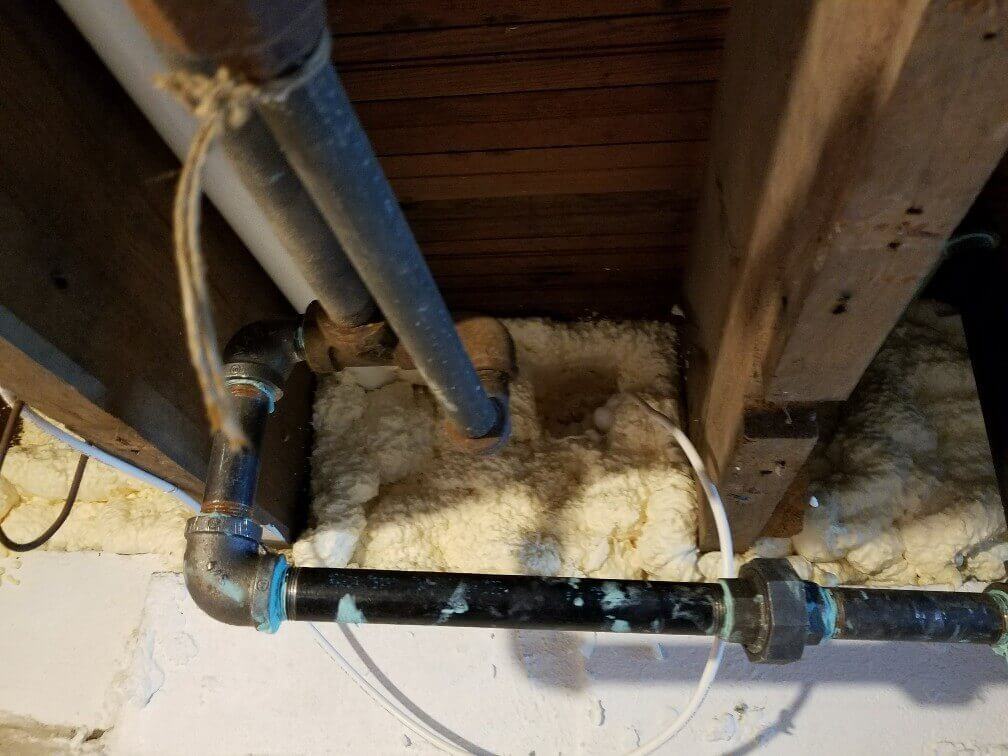
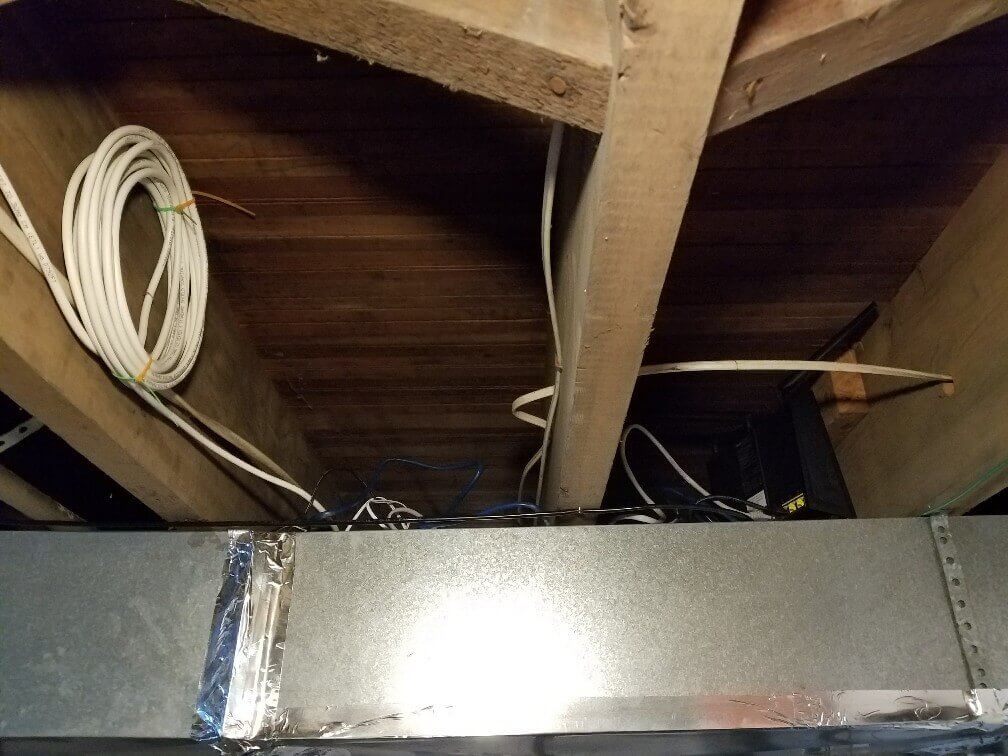
For this step I attempted to locate a pre-existing line in the basement that I can reroute the splitter to for the modem. We drilled a hole into the side of the house running into the basement but had some issues with spray foam insulation used on the basement. Took 30 mins to carve a hole in the insulation to get the hole for the wire. We reused a old direct-tv line just in case we messed up the first time we had a second try with the main line. It also let us continue to have internet while we were wiring up the cable. After the line was in place we had to reroute the Cable box splitter to use the direct-tv coax we re-used. Once this was set and done, we re-insulated with a spray foam can around the wire.
Step 2: Configuring the main router
With the router in the main corner of the basement near the modem we will be configuring it as a regular router.
Network Settings:
Set the main ip as 192.168.1.1, DHCP range to 192.168.1.10 - 192.168.1.254. Reserving the 1-9 for static stuff like my second router etc.
Wifi settings:
I will set the main wifi name as “mywifi (front)” and the 5ghz as “mywifi 5ghz”.
Step 3: Configuring the second router
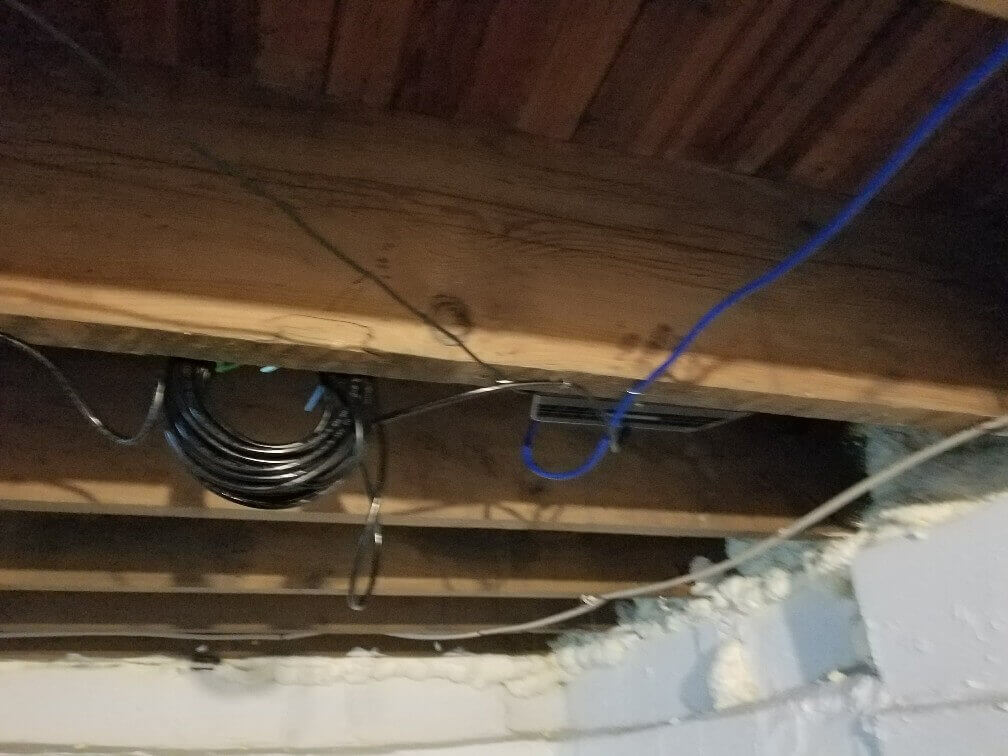
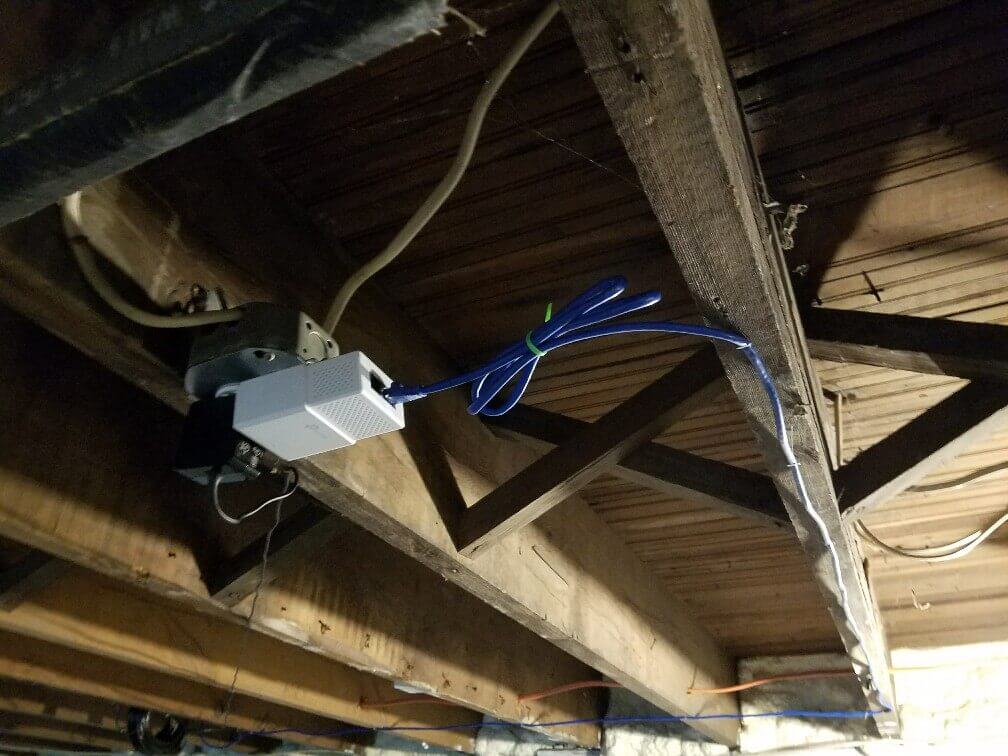
With a 100ft ethernet cable we will be running the wire along the ceiling to the opposite corner of the basement. Honestly probably did not need 100ft for his setup, at the time of ordering i did not know the length that was needed so I was better safe than sorry to get a 100ft. I attached the router to the header in the basement with 3m Double sided velcro straps. Plug in the ethernet into the port 1 of the main router and the wan port of the second router.
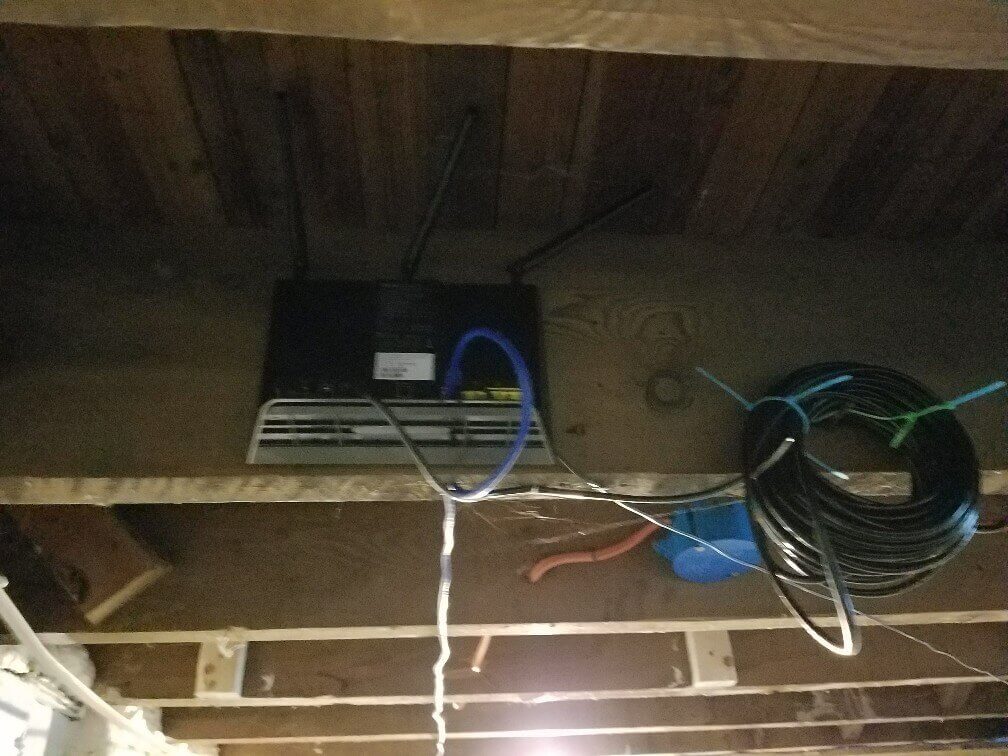
After this was all in place I stapled all the wires running across to the headers to keep them in place.
Network Settings:
Enable Ap Mode then set the main ip as 192.168.1.2, DNS settings to 10.5.1.1 and 8.8.8.8.
Wifi settings:
I will set the main wifi name as “mywifi (rear)” and the 5ghz as “mywifi 5ghz”.
Step 4: Powerline for Desktop
This was an added step, he didn’t want to use wifi for his main machine. I attached it to the second router via ethernet and wired it to the outlet near the header and stapled it all up. Very simple, and proved to be an upside. Speed tests showed less latency on this because the electric lines in the basement have less of a length to get directly to the upstairs powerline. Also free’s up more wifi bandwidth for other devices.
Step 5: Enjoy, Run some speed tests
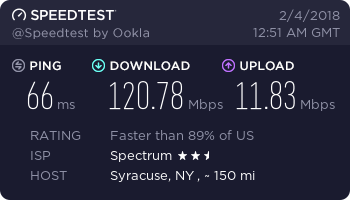
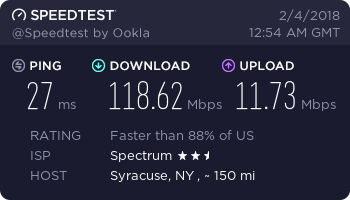
The best part was getting 118Mb/s in the 2nd floor and kitchen being connected to the front router. Before our results were lower than 30Mb/s on a old single router setup and the backyard coverage was not existent.