I won’t be able to finish my wrist brace project for a while. These instructions are very rough because they’re not actually finished.
Post in comments if anything needs clarification.
Scanning
requirements:
- Windows
- Kinect (with power adapter)
- beefy CPU or an NVidia GPU (with CUDA drivers)
- Kinect for Windows SDK 2.0
- Skanect software
- an assistant
- a small open area
Here’s the Skanect guide I watched:
https://www.youtube.com/watch?v=_cKb3oEM47E
Optional:
Scanning was initially a huge pain in the ass. Moving to much would cause Skanect to fail. My fix was to strap a screen to the back of the Kinect so that my assistant could watch the Skanect UI.
- run VNC server (or RDP or whatever) on the computer
- use a smartphone and connect to VNC
- strap the smartphone to the back of the Kinect (I used velcro straps and rubber bands)
Now the assistant can watch Skanect while moving around.
alternative raspi scanner that I have not tried:
https://www.slashgear.com/raspberry-pi-2-kinect-make-for-a-handy-3d-scanner-06391772/
Scanning requires either a beefy CPU or CUDA acceleration from an NVidia GPU. Slow hardware requires slooowwww movement of the Kinect. Moving too fast will cause the scan to fail.
Install Skanect
If you have an NVidia card, install CUDA drivers (takes like 20-30min to install)
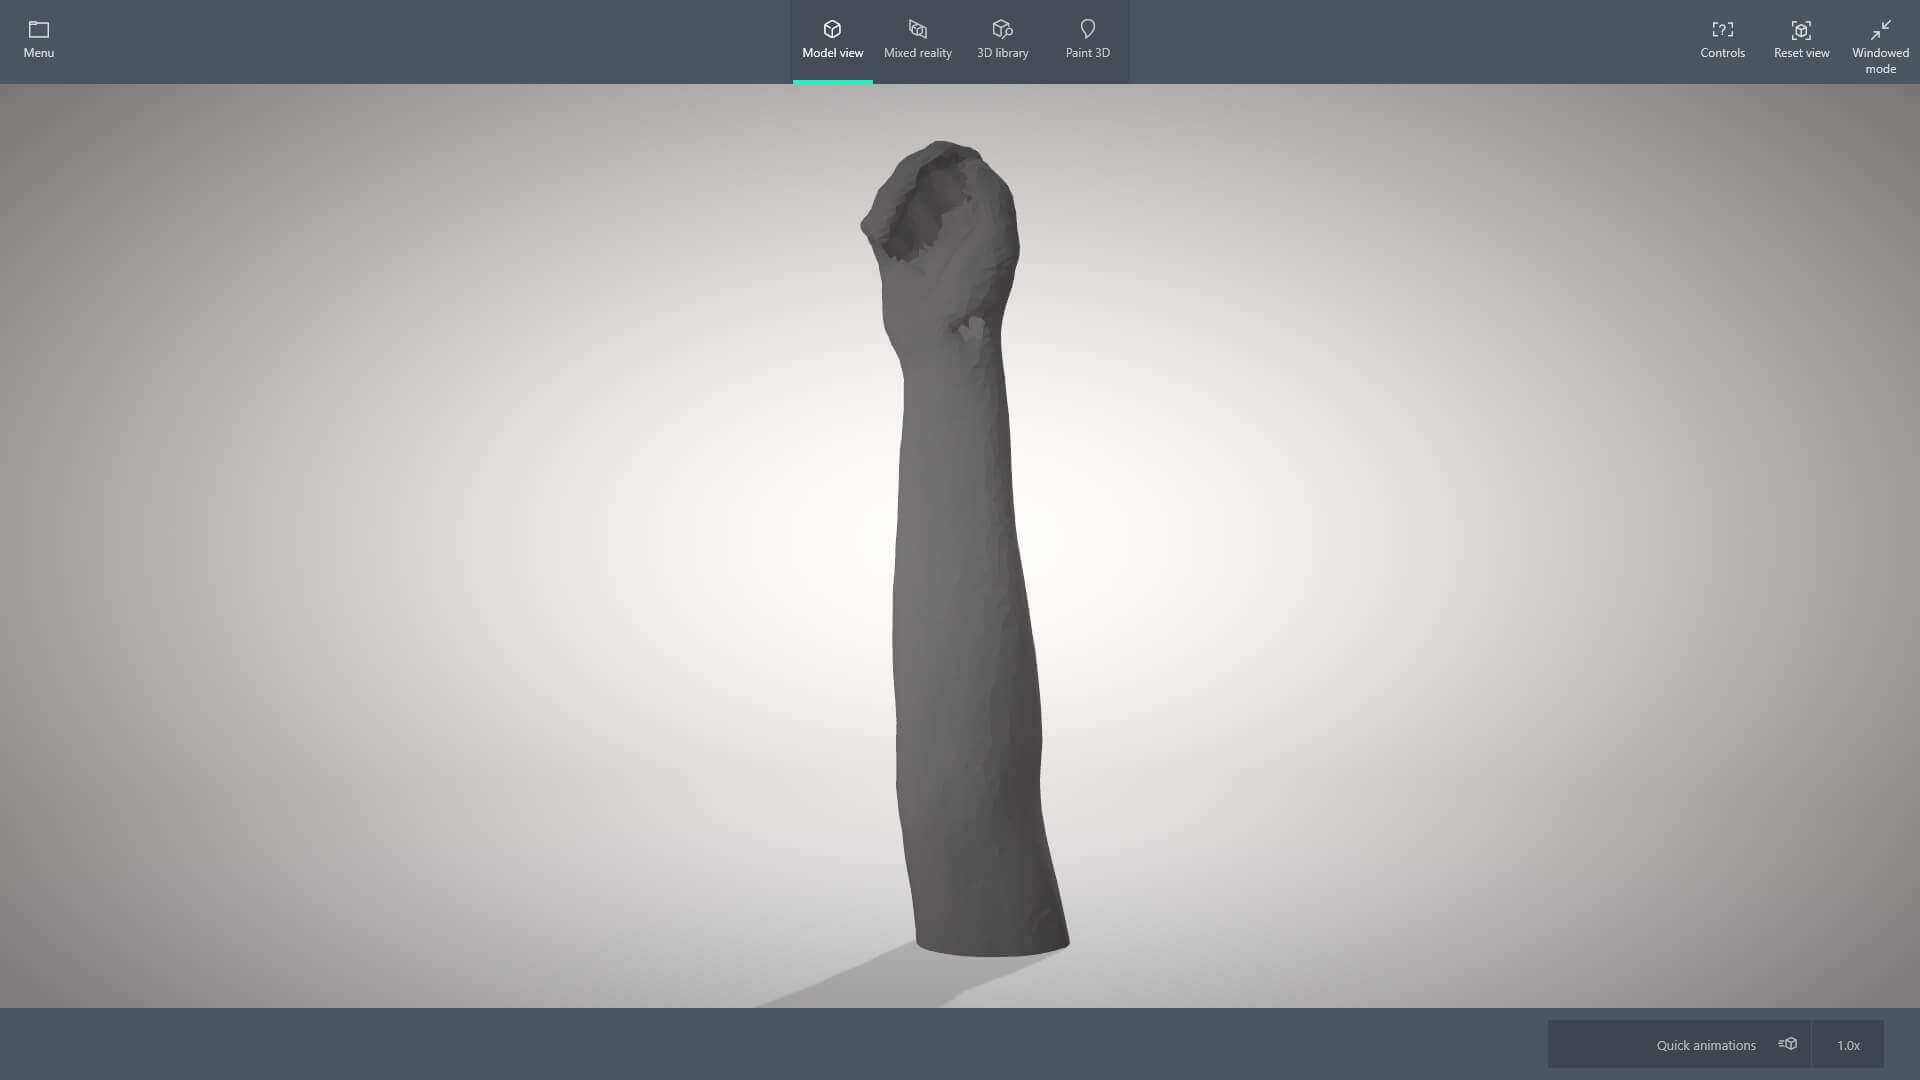
After scanning you can do some basic editing in Skanect. Make the model watertight and do a rough crop. You can edit more in Blender later. Here’s what my original scan looks like after making it watertight. There was a small indent that I had to fix in Blender.
Skanect scales in meters and I haven’t figured out how to import/export with Blender properly (you’re supposed to do it in the scene but it didn’t work for me). After editing your model in Blender, export the STL, open in Windows 3d Builder, select the “m” for meters, fix any errors, then save (as STL). Now it’s scaled.
Blender
Blender tutorial. If you’ve never used Blender then I recommend watching up to part 5 and following along. This is a great beginner tutorial for the latest Blender 2.8 GUI. https://www.youtube.com/playlist?list=PLjEaoINr3zgEq0u2MzVgAaHEBt--xLB6U
Use your new Blender skills to edit the model. Crop it as needed, fix irregularities, and bisect it.
Bisect to split the brace down the middle
https://www.youtube.com/watch?v=UjLaxaLJZK4
My model had some random garbage points that were sticking off the main model. That required cleanup.
Clean up garbo:
-Edit Mode
-select all
-Mesh > Cleanup > Degenerate Dissolve
Time to skeletonize it with modifiers. Were reducing the polys, then wireframing the simplified geometry, then smoothing it to remove hard corners. Switch to object mode. Add these modifiers in order and play around with all the settings.
decimate
-adjust the ratio, play with settings
wireframe
-uncheck even thickness
-check boundary
-adjust thickness
subdivide (smooth)
-adjust Views for smoothing
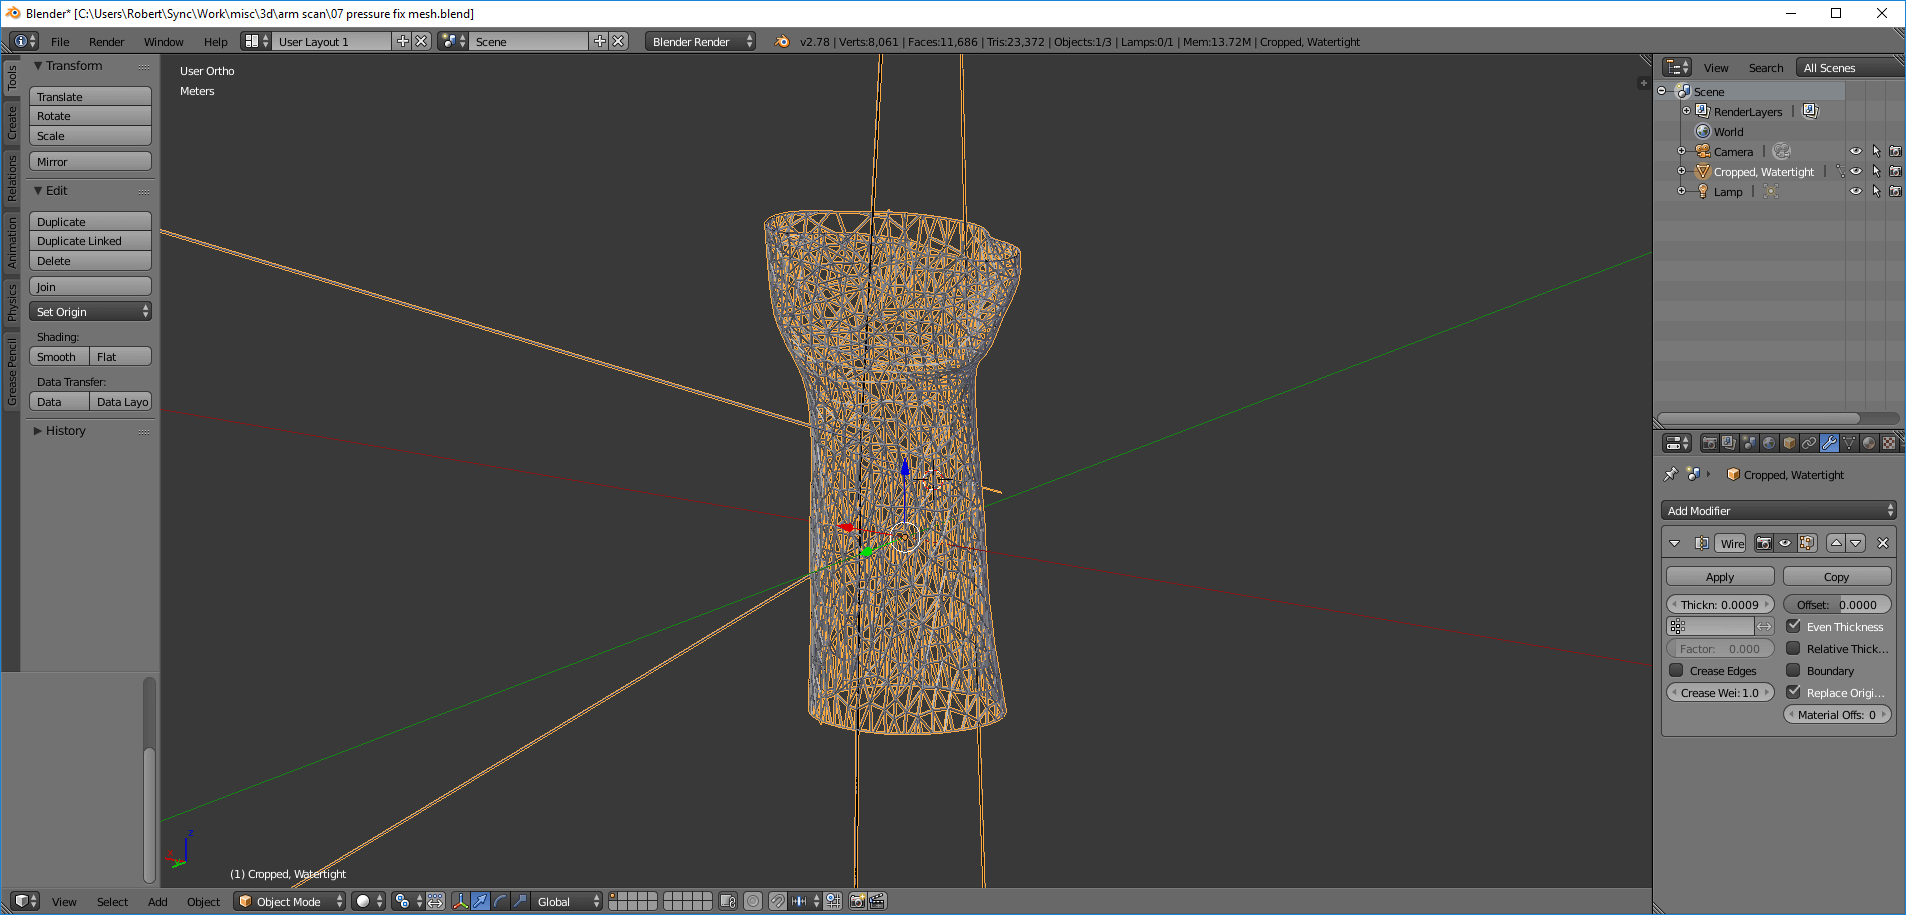
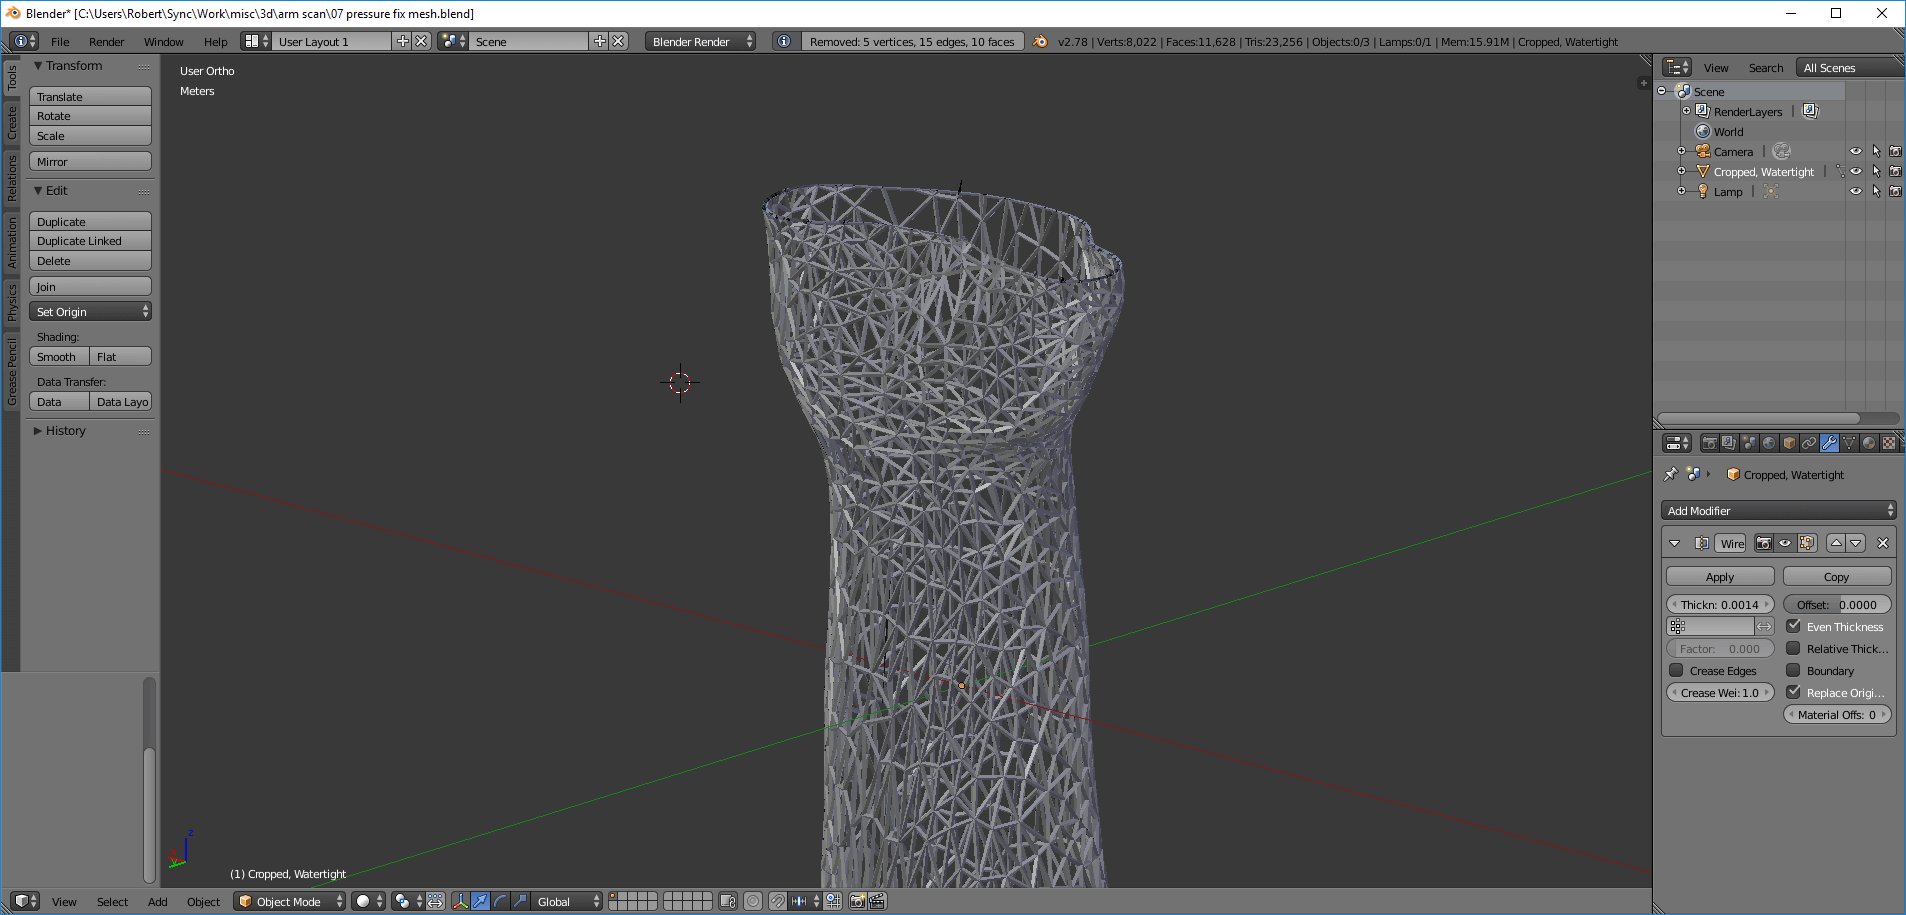
Here what my model looked like early on. I wireframed it without reducing the polys and it created this fine hole pattern:
Here’s my latest version. This is after bisecting it, and decimate and subdivide modifiers. It’s basically done, I just have to make it at least 4x thicker because this was too flexible once printed.
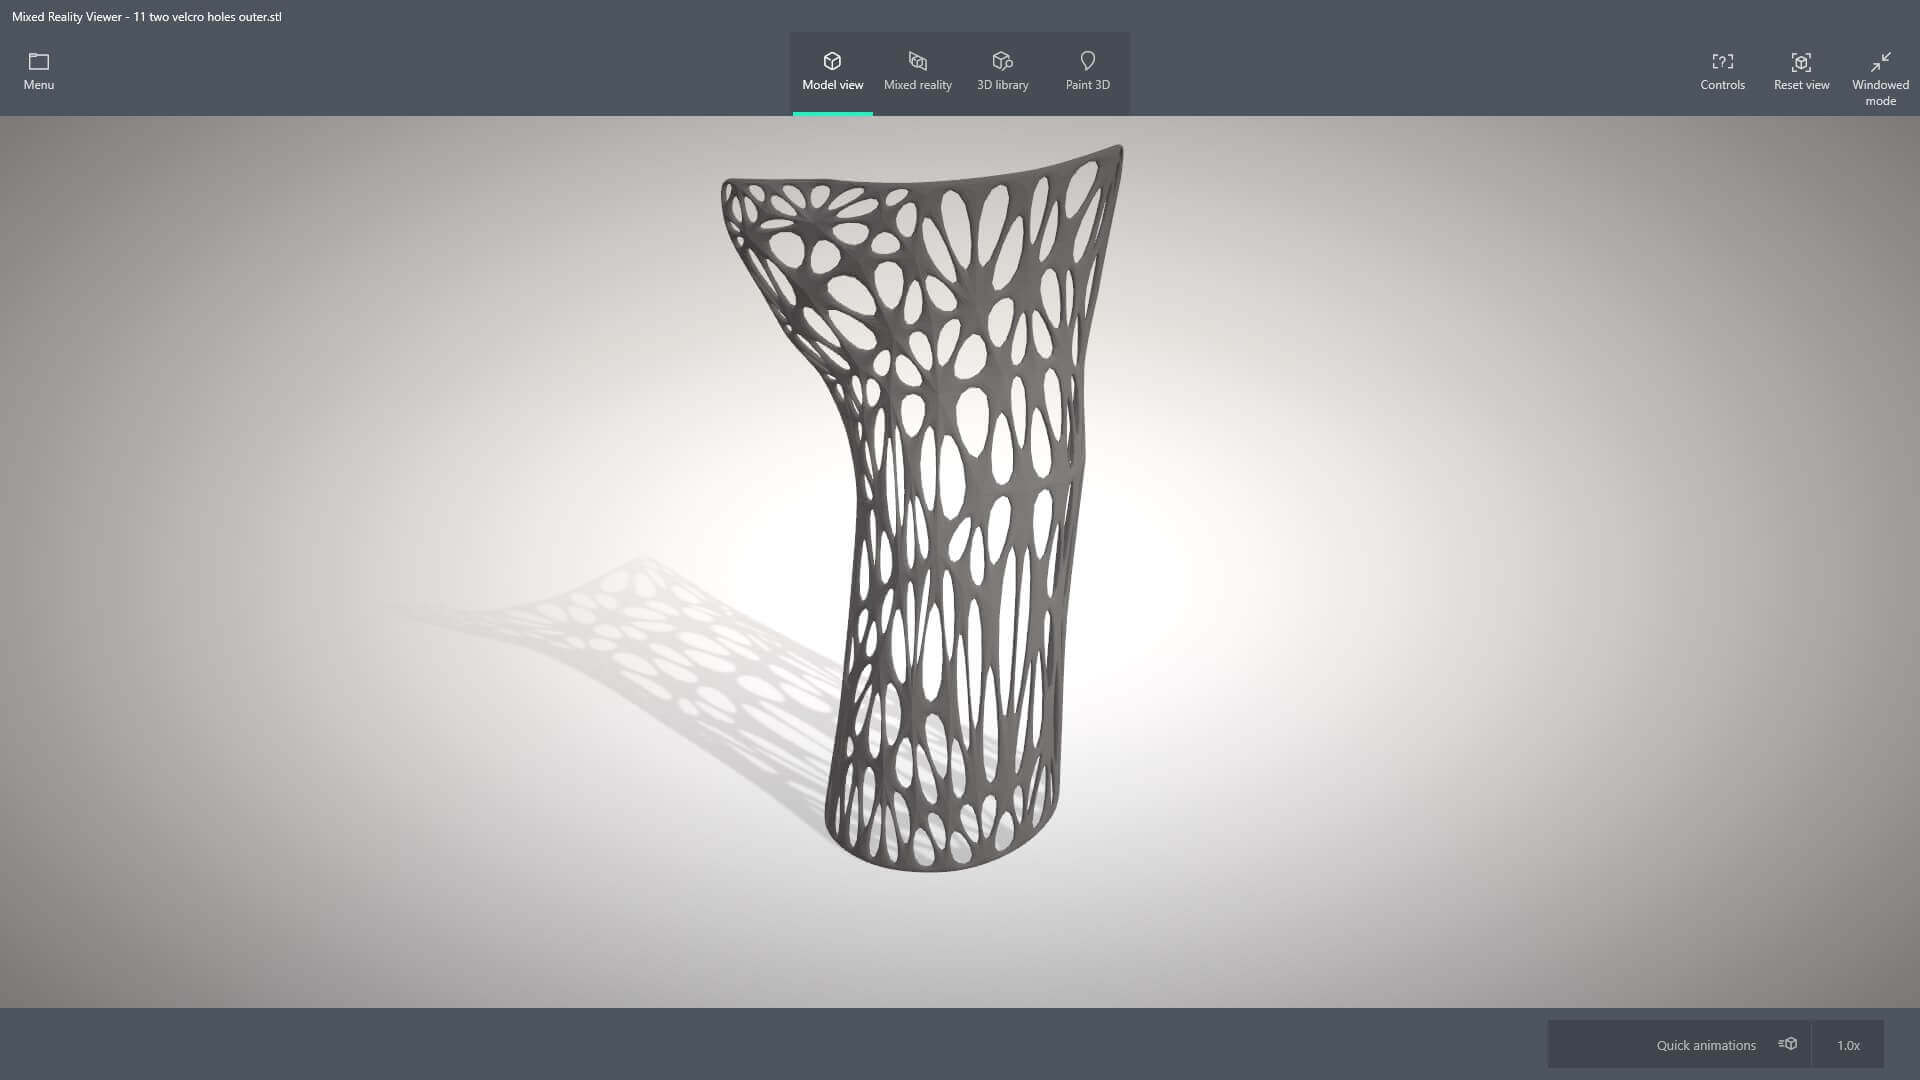
I also have a method for adding holes for velcro straps. It’s not strictly necessary but it’ll make the slots line up nicely.
Boolean Modifier
https://www.youtube.com/watch?v=pcUe-ab_jQs
-create some cylinders or boxes that pass through the spots you want holes
-to the arm, add a Boolean Modifier, select Difference, select a cylinder/box
-hide boxes
-if it’s good hit Apply to permanently apply it
-delete the faces of the beams that are created
export to STL
In the future swap the velcro for a hinge:
https://www.thingiverse.com/thing:1615753