Introduction
In the world of electronics and software, innovation knows no bounds. As a senior software engineer in Amherst, NY, I’ve always loved to tinker with the latest technologies to create fun and exciting projects. One such project that I recently embarked on is an automated watering system that integrates seamlessly with Home Assistant, using sensors, Tasmota, MQTT, and an ESP32 4CH relay control board. In this article, I will guide you through the process of building your own automated watering system, step by step. Please note that having a basic understanding of Home Assistant and microcontrollers is recommended to follow this guide.

The Components You’ll Need
Before diving into the construction of this automated watering system, let’s take a closer look at the key components involved:
-
Home Assistant: This powerful home automation platform will be the heart of our project, serving as the central hub for controlling and monitoring the watering system. Website
-
Tasmota: Tasmota firmware will be used for the ESP32 and connected devices, allowing them to communicate with Home Assistant over MQTT (Message Queuing Telemetry Transport). Website
-
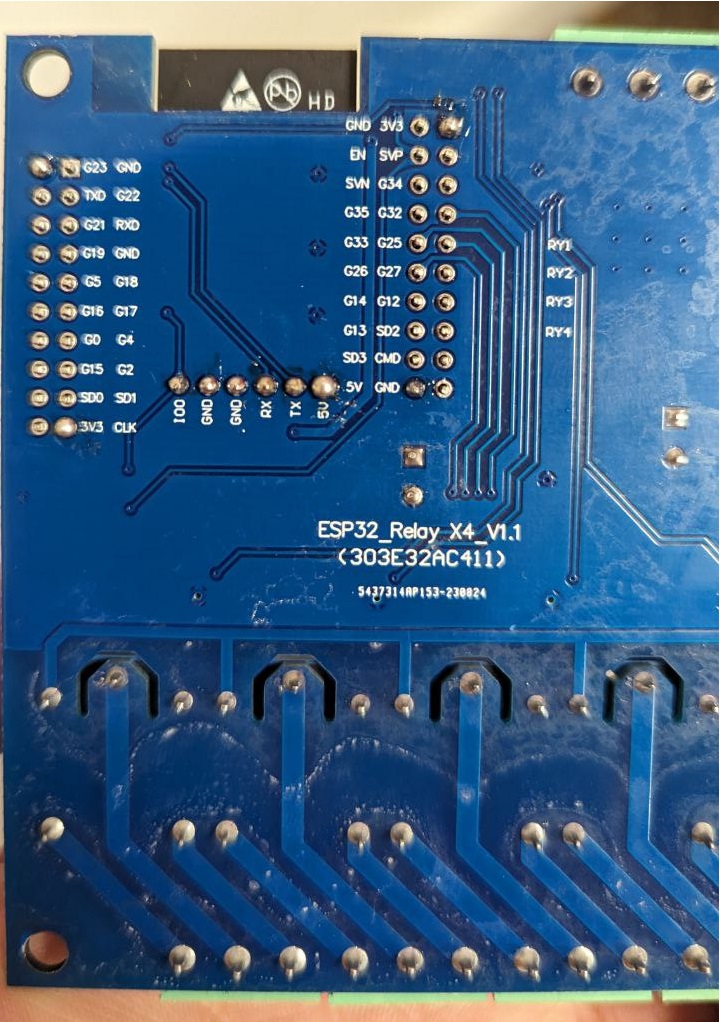
ESP32 4CH Relay Control Board: The ESP32 4CH relay control board acts as the control center for the water pumps, enabling us to switch them on and off as needed. Board 1 Board 2
-
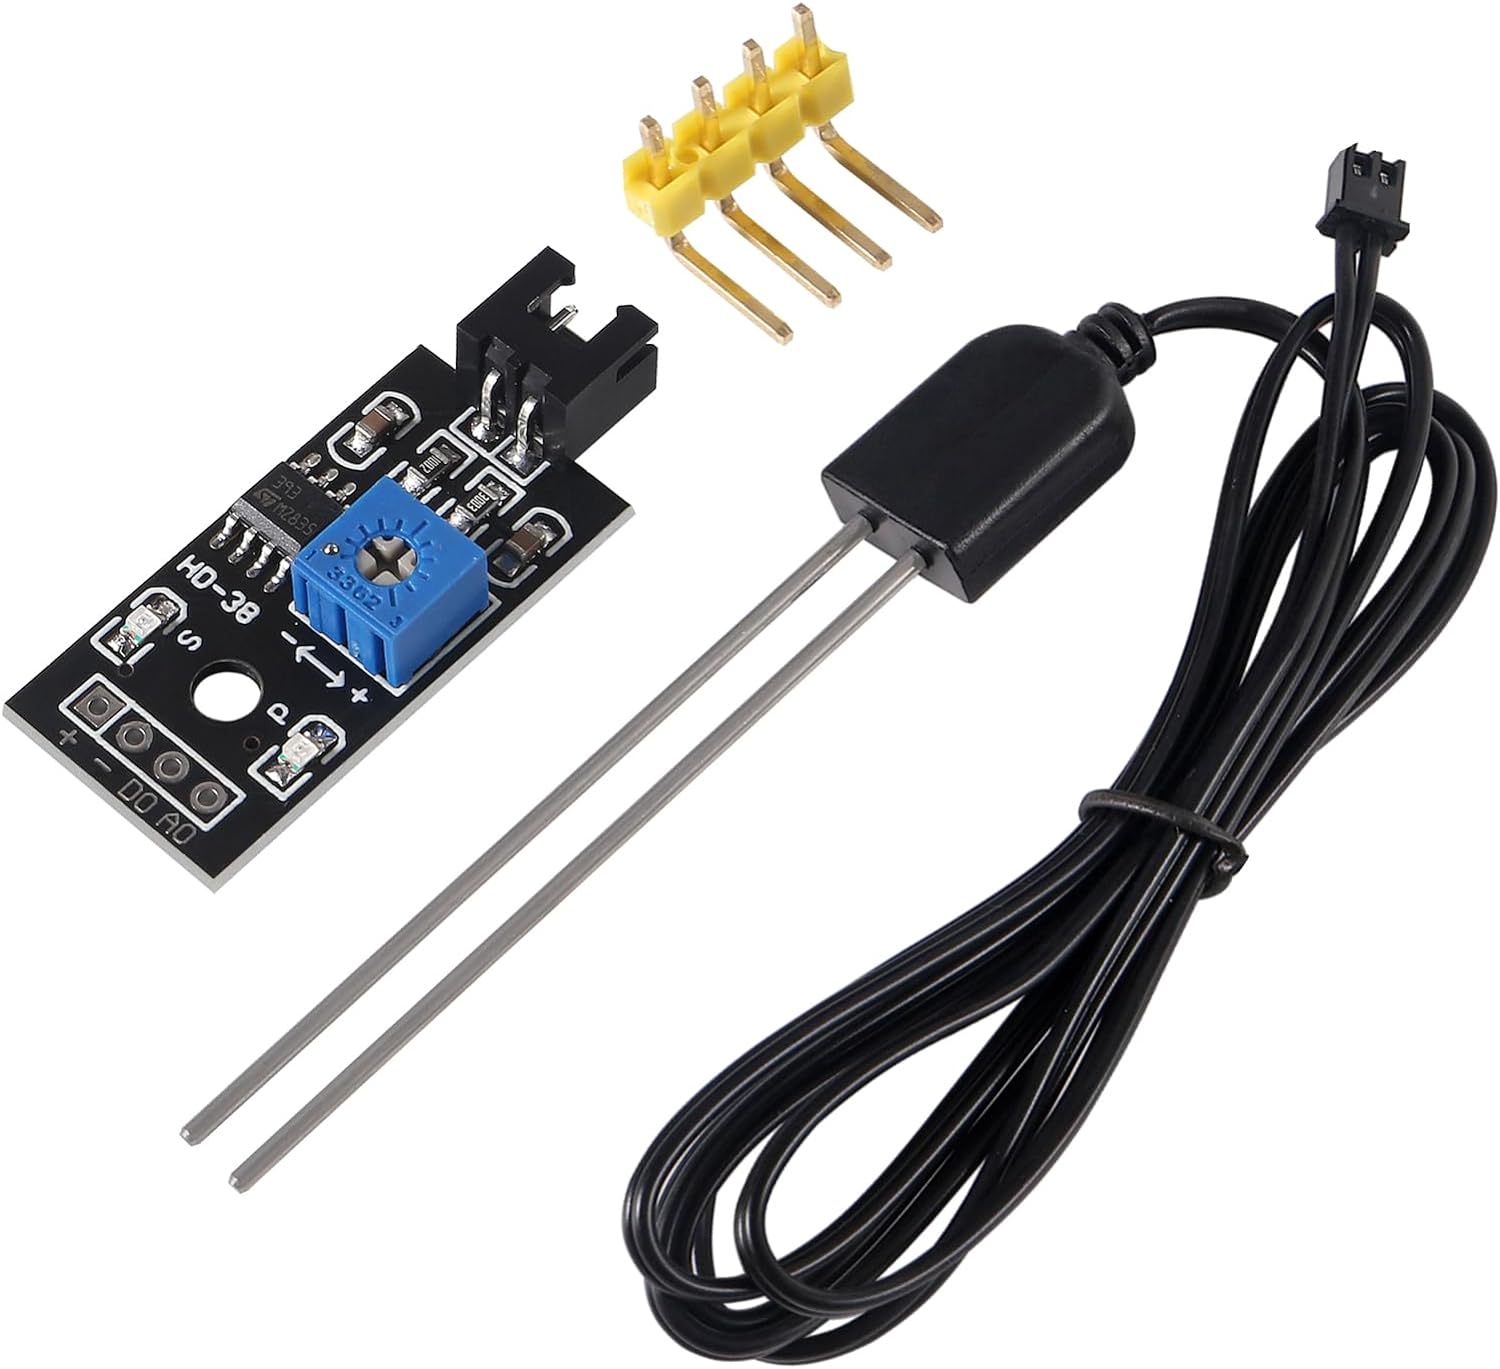
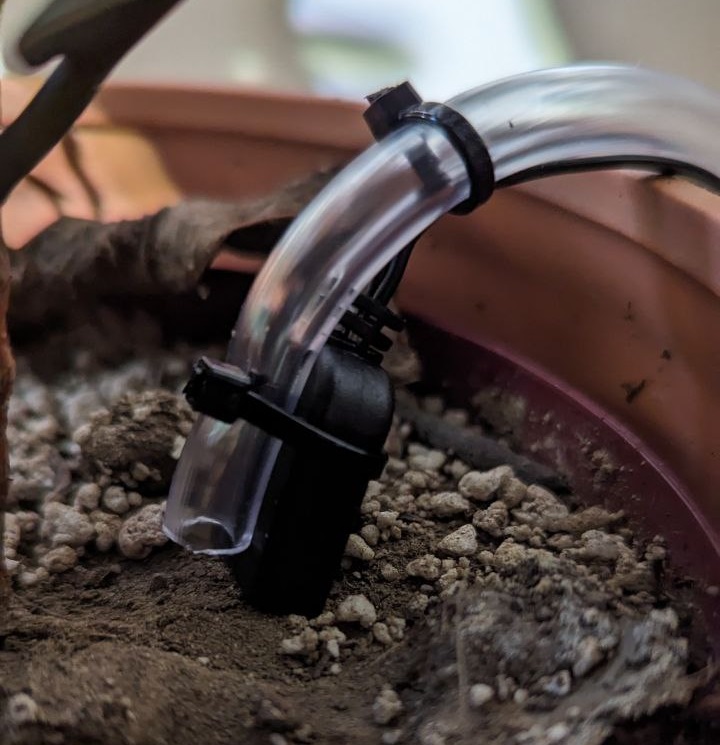
Sensor Probes: You’ll need four sensor probes to measure the moisture content of the soil in different pots. These sensors provide data to the custom sensor in Home Assistant. Amazon
-
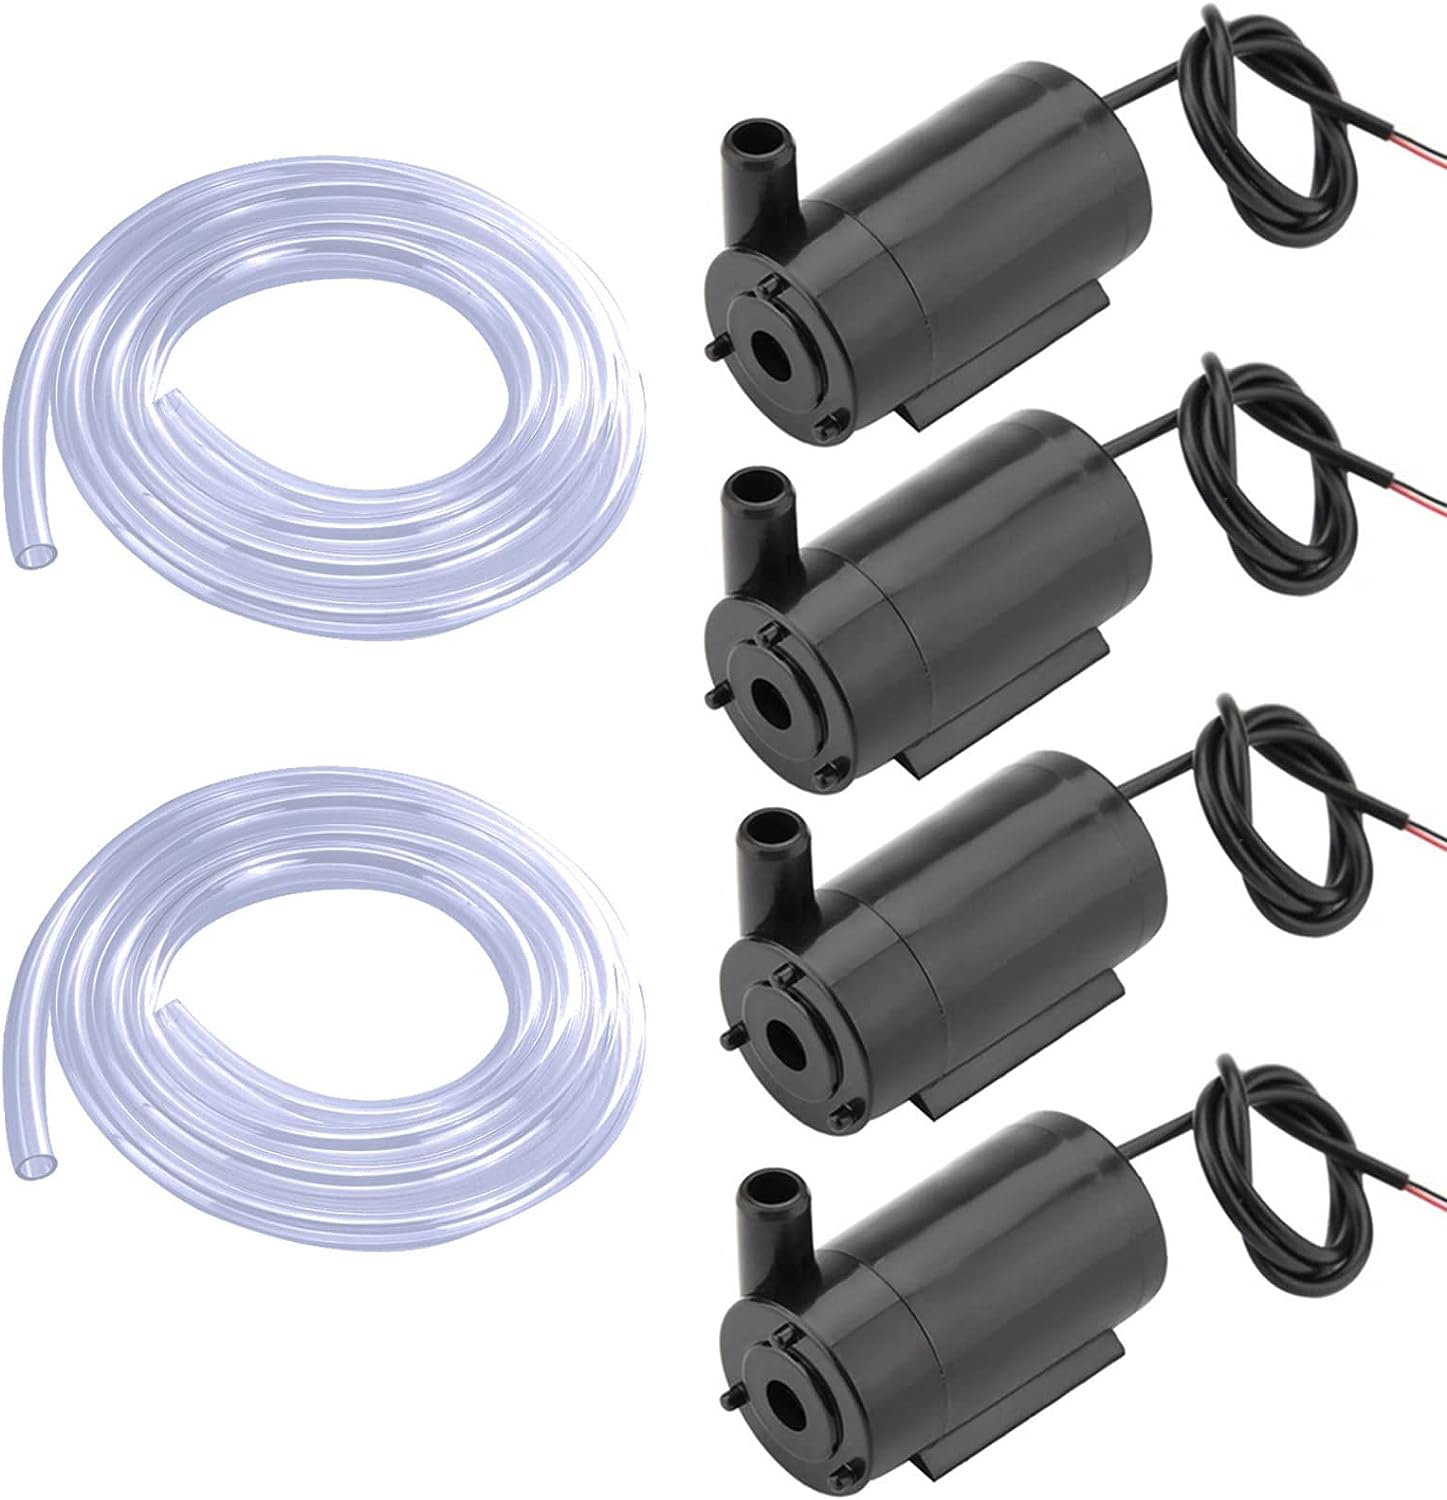
Water Pumps: Four 5V water pumps will be connected to the relay board. These pumps will dispense water to the plants based on the soil moisture readings. Amazon
-
Bus Bar: To power the water pumps, probes and ensure a neat setup, a 5V bus bar using a breadboard will be connected to the ESP32 board. Amazon
-
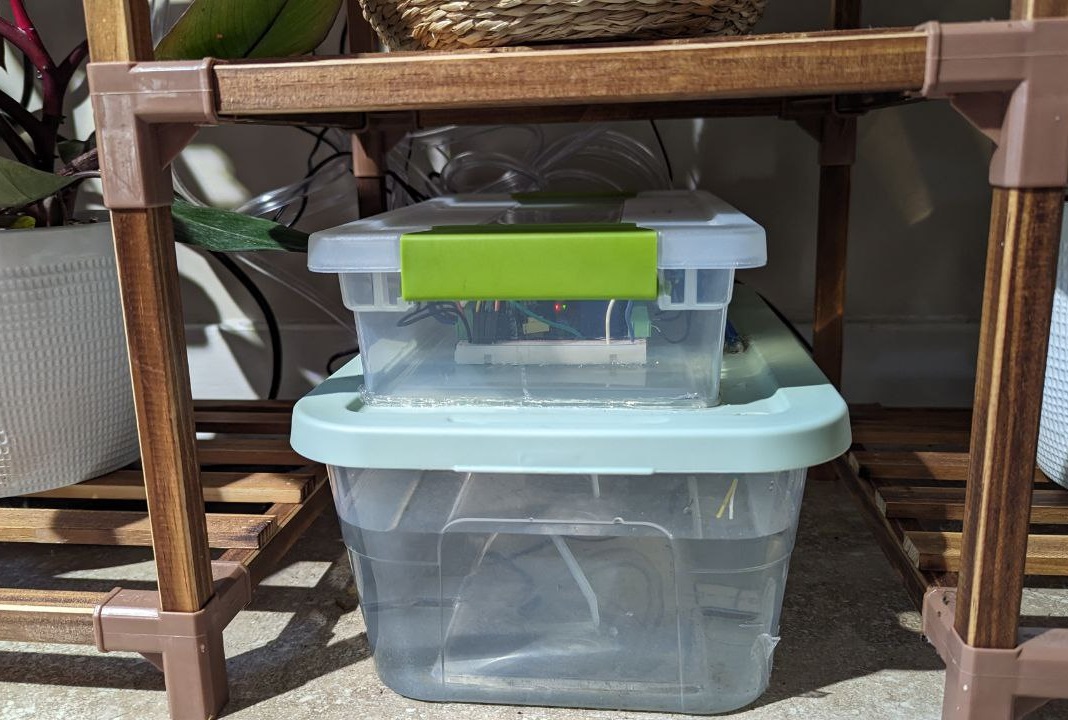
Two Bins for Water and Electronics: You’ll need two bins for this project: one to serve as the water tank and the other to function as an electronics enclosure. The water tank should be watertight, ensuring it holds a sufficient water supply for your plants. The electronics enclosure, on the other hand, must seal tightly to protect the delicate components from moisture.
-
Hot Glue for Waterproofing: To safeguard against moisture infiltration, it’s a smart move to seal any drill holes on the electronics enclosure. Hot glue serves as an effective waterproofing agent, preventing water from seeping into the enclosure and potentially damaging your electronics.
Setting Up Home Assistant
-
Begin by setting up Home Assistant on your preferred hardware platform. Whether you’re using a Raspberry Pi, a dedicated server, or a virtual machine, Home Assistant offers a variety of installation options.
-
Once Home Assistant is up and running, configure the MQTT integration to allow communication between Home Assistant and your ESP32.
Flashing the ESP32 with Tasmota
-
Flash your ESP32 with Tasmota firmware using the esphome utility. This will enable the ESP32 to connect to Home Assistant over MQTT and control the relay board.
-
Configure the relay board in Tasmota to ensure it can control the water pumps connected to it.
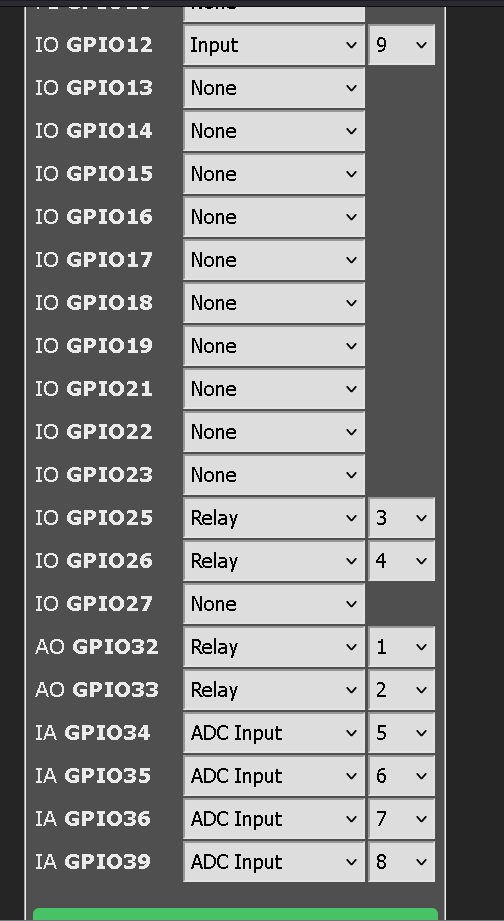
Connecting the Relay Control Board and Water Pumps
-
Connect the esp32 control board to the 5v bus bar. There should be pinout for 5v either on gpio or somewhere on the board.
-
Connect the water pumps to the relays. Each pump should be associated with a specific sensor probe, ensuring that you water each plant as needed. Make sure to label them 1-4 including the sensor probes as configured in the gpio.
Water Tank Level Sensing
In addition to monitoring soil moisture, you can enhance your automated watering system by incorporating water tank level sensing. This feature ensures that your plants receive water from a consistent water source, and you’ll always know when it’s time to refill the tank.
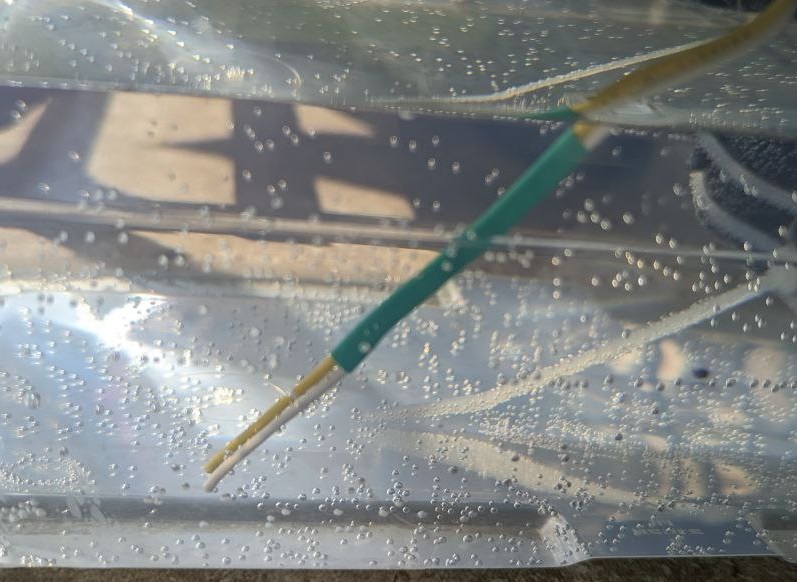
To implement this, you can use a simple method involving two wires as water sensing probes:
-
Select the Two Wires: Choose two conductive wires, such as copper or aluminum. Ensure they are long enough to reach from the top of your water tank to the lowest level you want to monitor just above the pump line.
-
Connect the Wires: Attach both wires to the bottom of the tank. These wires will act as a simple circuit, and when submerged in water, they will complete the circuit.
-
Interface with Your ESP32: Connect the wires to your ESP32’s GPIO pins. This simple setup, along with Tasmota firmware, allows you to detect water level changes without complex programming. Tasmota provides a user-friendly interface to configure GPIO pins for such purposes.
By adding this water tank level sensing feature to your system, you ensure that your automated watering system always has a reliable water source. Home Assistant can use this information to prevent overwatering your plants and notify you when it’s time to refill the tank. This is another example of how you can innovate and improve your project while still having fun in the world of electronics and software.
HA Moisture Percentage
In Home Assistant, create a custom sensor to handle the data from the analog sensor probes. The custom sensor should be programmed to convert the analog signals into a percentage representing soil moisture.
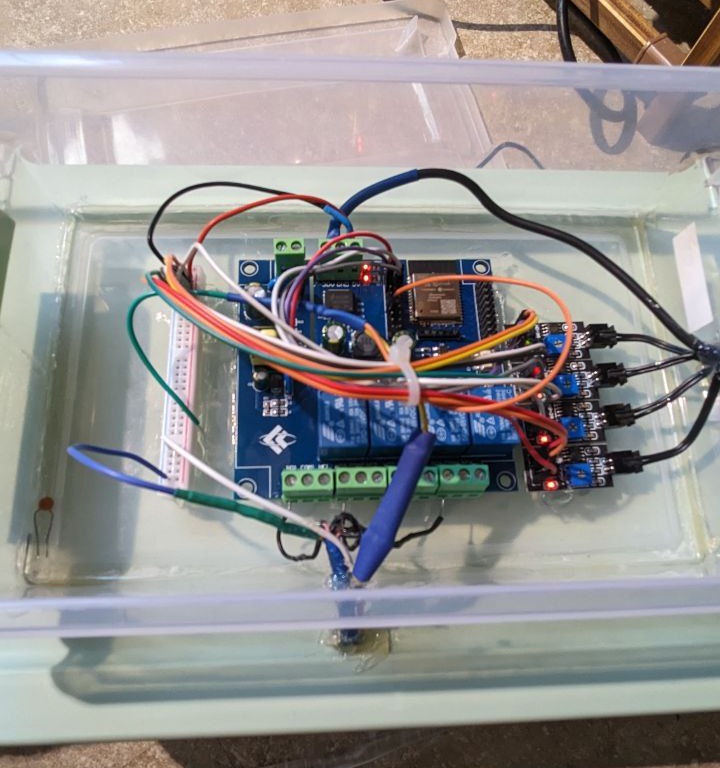

To calculate moisture accurately, we need to write a custom sensor. The sensors in this project output analog values ranging from 0 to 3889, which can be a bit tricky to interpret directly. To handle this, we’ll create a custom sensor configuration that can be added to your configuration.yml or sensors.yml files. This sensor is essential for transforming the analog data into meaningful percentage values, allowing your automated watering system to make informed decisions about when and how much to water your plants.
- platform: template
  sensors:
    kitchen_plants_moisture_1:
      friendly_name: "Kitchen Plant Moisture 1"
      unit_of_measurement: "%"
      device_class: moisture
      value_template: >-
        {% set max_value = 3889 %}
        {% set inverted_value = max_value - states('sensor.kitchen_plants_analog_a1') | float %}
        {{ (inverted_value / max_value) * 100 | round(1) }}
    kitchen_plants_moisture_2:
      friendly_name: "Kitchen Plant Moisture 2"
      unit_of_measurement: "%"
      device_class: moisture
      value_template: >-
        {% set max_value = 3889 %}
        {% set inverted_value = max_value - states('sensor.kitchen_plants_analog_a2') | float %}
        {{ (inverted_value / max_value) * 100 | round(1) }}
    kitchen_plants_moisture_3:
      friendly_name: "Kitchen Plant Moisture 3"
      unit_of_measurement: "%"
      device_class: moisture
      value_template: >-
        {% set max_value = 3889 %}
        {% set inverted_value = max_value - states('sensor.kitchen_plants_analog_a3') | float %}
        {{ (inverted_value / max_value) * 100 | round(1) }}
    kitchen_plants_moisture_4:
      friendly_name: "Kitchen Plant Moisture 4"
      unit_of_measurement: "%"
      device_class: moisture
      value_template: >-
        {% set max_value = 3889 %}
        {% set inverted_value = max_value - states('sensor.kitchen_plants_analog_a4') | float %}
        {{ (inverted_value / max_value) * 100 | round(1) }}
HA Automations
With your sensors in place, it’s time to put Home Assistant’s automation capabilities to good use. Here are several automation ideas to enhance your DIY automated watering system:
1. Notifications for Water Level
Set up notifications to alert you when the water level in your tank is getting low. This proactive approach ensures you never run out of water unexpectedly and can refill the tank in a timely manner.
2. Notifications for Pump Activation
Create notifications that inform you when the water pumps are activated. This feature allows you to monitor the system’s watering activity in real-time and ensures everything is functioning as expected.
3. Activating Pumps Based on Plant Needs
Tailor your automations to each plant’s specific requirements. By setting up individual moisture thresholds and watering schedules, you can ensure that each plant gets the right amount of water at the right time. This personalized approach maximizes plant health and minimizes water waste.
4. Weather-Dependent Watering
Integrate weather data into your automations to adjust watering schedules based on local weather conditions. For instance, if rain is in the forecast, the system can postpone watering to conserve water and prevent overhydration. This is useful when using this setup outdoors.
5. Seasonal Adjustments
Automate seasonal adjustments to your watering system. Some plants may require more water in the summer and less in the winter. By incorporating seasonal variations into your automations, you can optimize water usage throughout the year.
By incorporating these automation ideas into your Home Assistant setup, you can transform your automated watering system into a sophisticated and intelligent plant care solution. These automations provide not only convenience but also a more efficient and eco-friendly way to nurture your garden or indoor plants.
Conclusion
In the end, you’ll have a fully functional automated watering system that’s not only a testament to your skills as a software engineer but also a practical addition to your home or garden. By integrating ESP32, Home Assistant, custom sensors, and Tasmota, you’ve created a smart system that takes the hassle out of plant care.
This project is just one example of the exciting and innovative things you can achieve in the electronics and software industry. As a senior software engineer, you have the skills to explore even more possibilities in this ever-evolving field. So, go ahead and use this project as inspiration to steer in new directions and create even greater things. The world of technology is your playground, waiting for your next brilliant idea.
Are you ready to embark on your own journey in the world of automated plant care, or perhaps you have innovative ideas to share? Feel free to leave your thoughts and questions in the comments section below, and let’s keep the conversation growing!
