Owners of the AC Infinity AirTap T4/T6 with a Gen2 vent can replace the factory control board with our ESP32 module to add local smart home control through ESPHome and Home Assistant. The Gen2 housing keeps the original button bracket in place. The kit includes a small display cover bracket made for the Gen2 layout. This guide walks through what is in the kit, how that cover bracket fits, and the exact steps to install the PCB.
This guide explains the parts included with the module, how the display cover bracket works, and the step-by-step installation process.
Plug and Play Option
For the fastest install, we offer a complete ESP32 board that arrives ready to mount. No board modification is required. Connect the cables, fit the display cover bracket, and install the module in the vent.
You can purchase the complete module here:
https://shop.silocitylabs.com/products/esp32-module-for-ac-infinity-airtap-t4-t6
Installation Guide
Follow the steps below to install the ESP32 module in a Gen2 vent. The OEM button bracket stays in place. There is no button transfer.
-
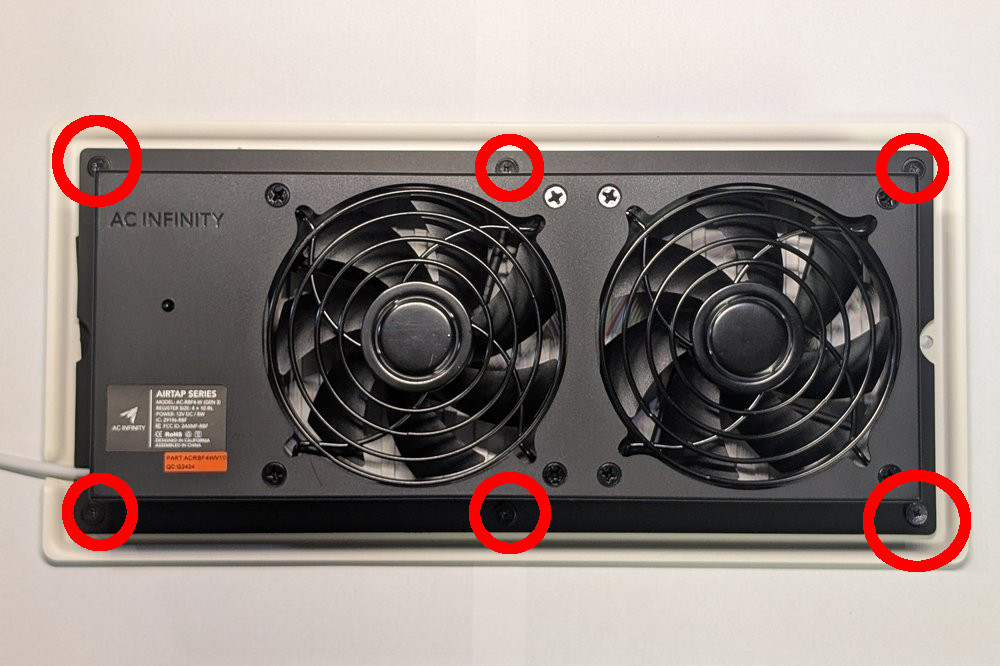
Remove the six rear screws from the vent.

-
Disconnect the power, fan and NTC cables. Some may be glued, use caution removing not to tear cable. Use pry tool to seperate glue.
-
Unscrew and remove the OEM PCB. Leave the original bracket, buttons, and clear display shield in the vent.
-
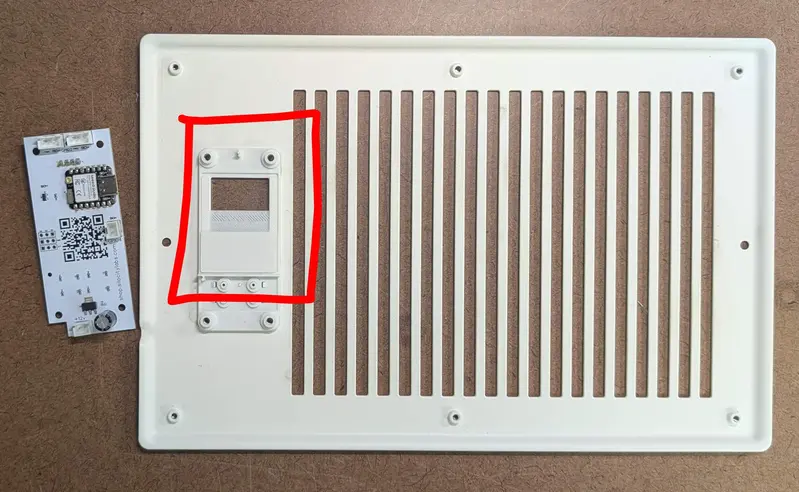
Install the display cover bracket from the kit. Align it with the clear display shield and housing.
-
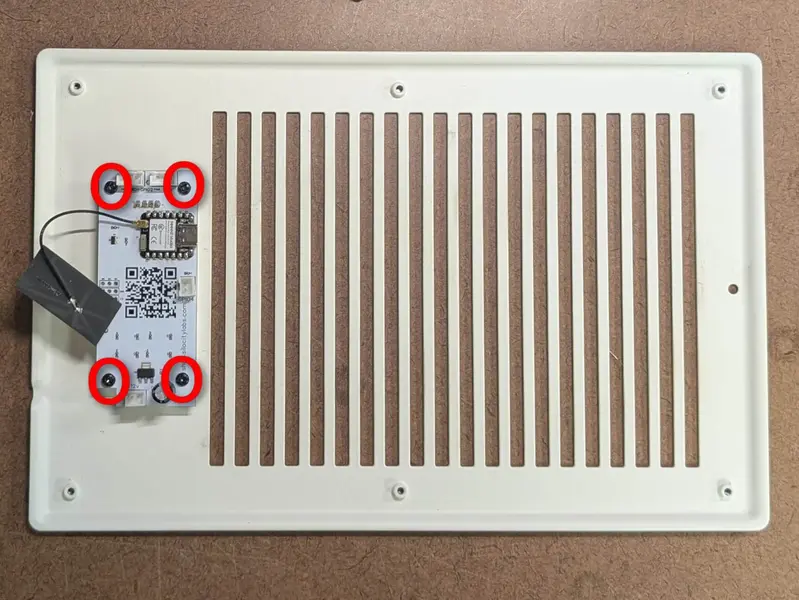
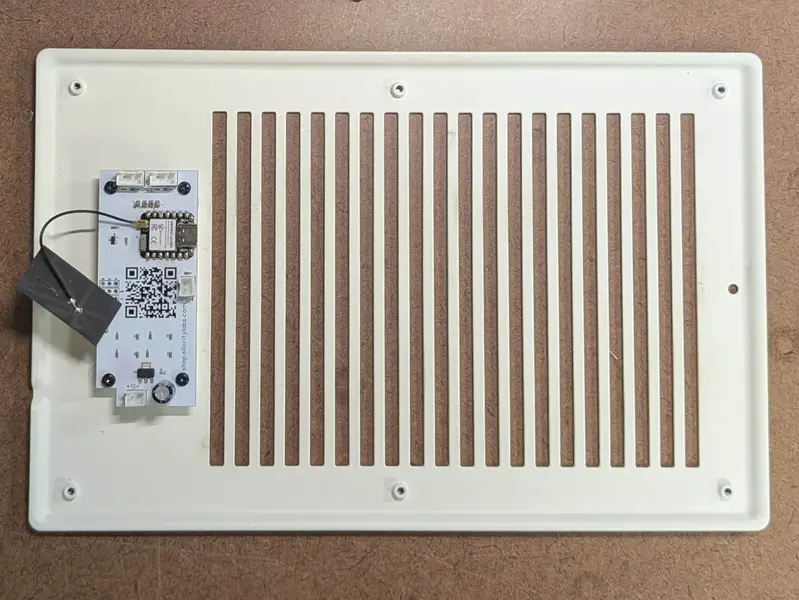
Mount the ESP32 module. Use original screws to reattach.
-
Reconnect all cables.
-
Reinstall back pannel.

Getting Your Vent Online
With the display cover bracket fitted and cables connected, your Gen2 AirTap T4/T6 is ready for ESPHome and Home Assistant. Flash or adopt the device using the SiloCityLabs device profile for your button count, then verify fan control and temperature readings before closing up the install.