Owners of the AC Infinity AirTap T4/T6 may be looking for a way to retrofit their older Gen2 ESP32 module so it can operate inside the newer Gen3 AirTap vent. The Gen3 design uses a different mounting layout and sensor position, which means the original Gen2 hardware does not fit or function without modification. To solve this, we created a simple upgrade path that lets you reuse your Gen2 module with full Gen3 compatibility.
This guide explains the available upgrade parts, how the bracket works, how to handle the IR sensor, and the exact steps to install the updated components.
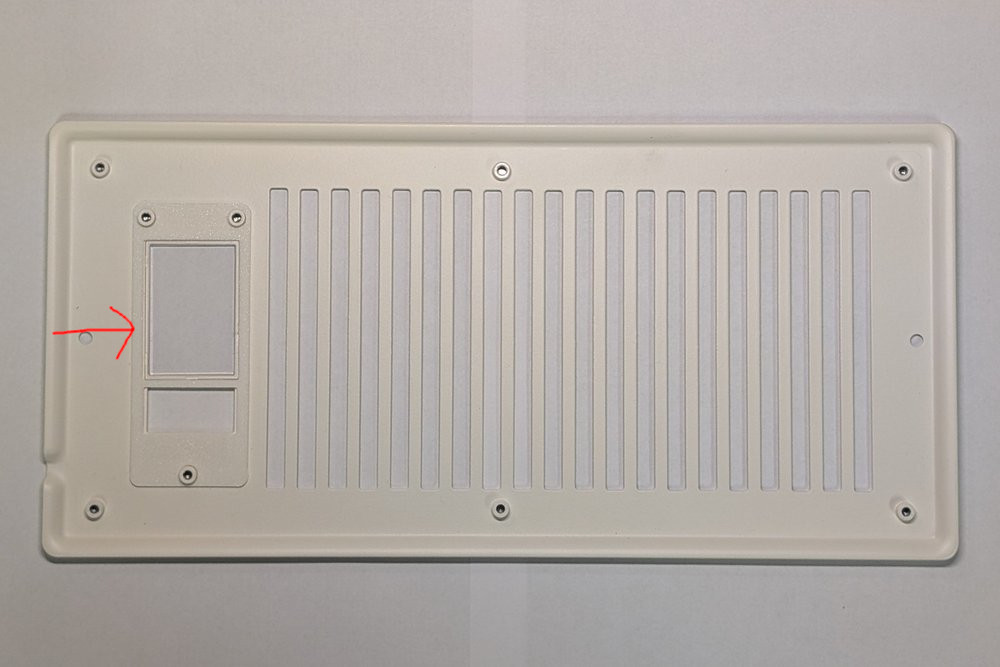
Why a Bracket Upgrade Is Needed
The AC Infinity AirTap Gen3 vent uses a revised internal layout. The primary differences relate to the screw mount hole position. As a result, a Gen2 ESP32 module cannot be installed directly in a Gen3 vent without an adapter.
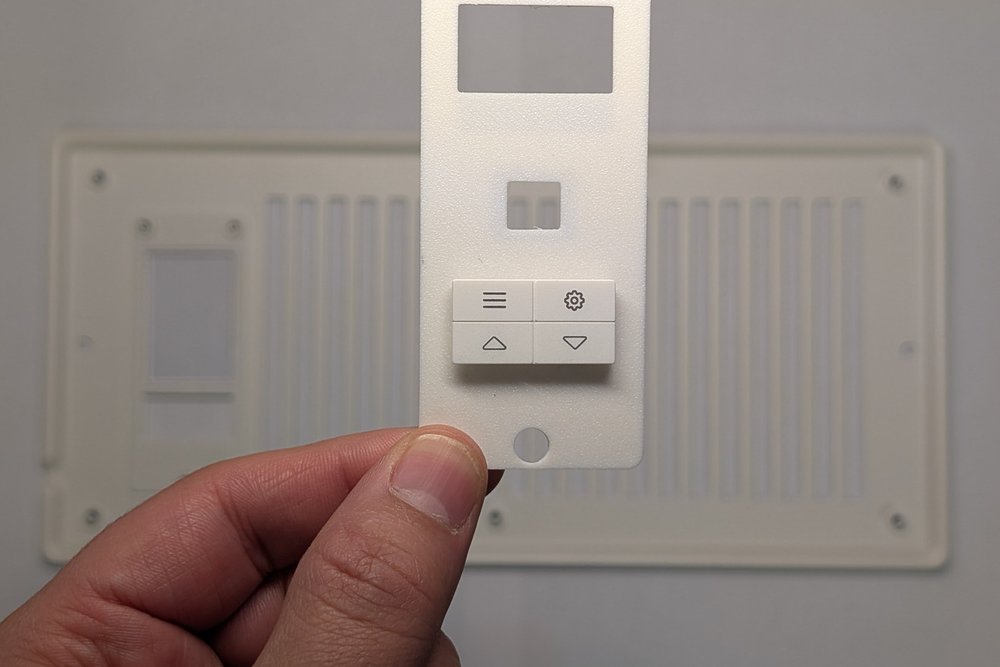
To address this, we designed a two part bracket that allows a Gen2 ESP32 module for the AirTap T4/T6 to sit correctly inside a Gen3 housing.
You can order this two part bracket as a standalone upgrade.
Adding the IR Sensor for Full Gen3 Functionality
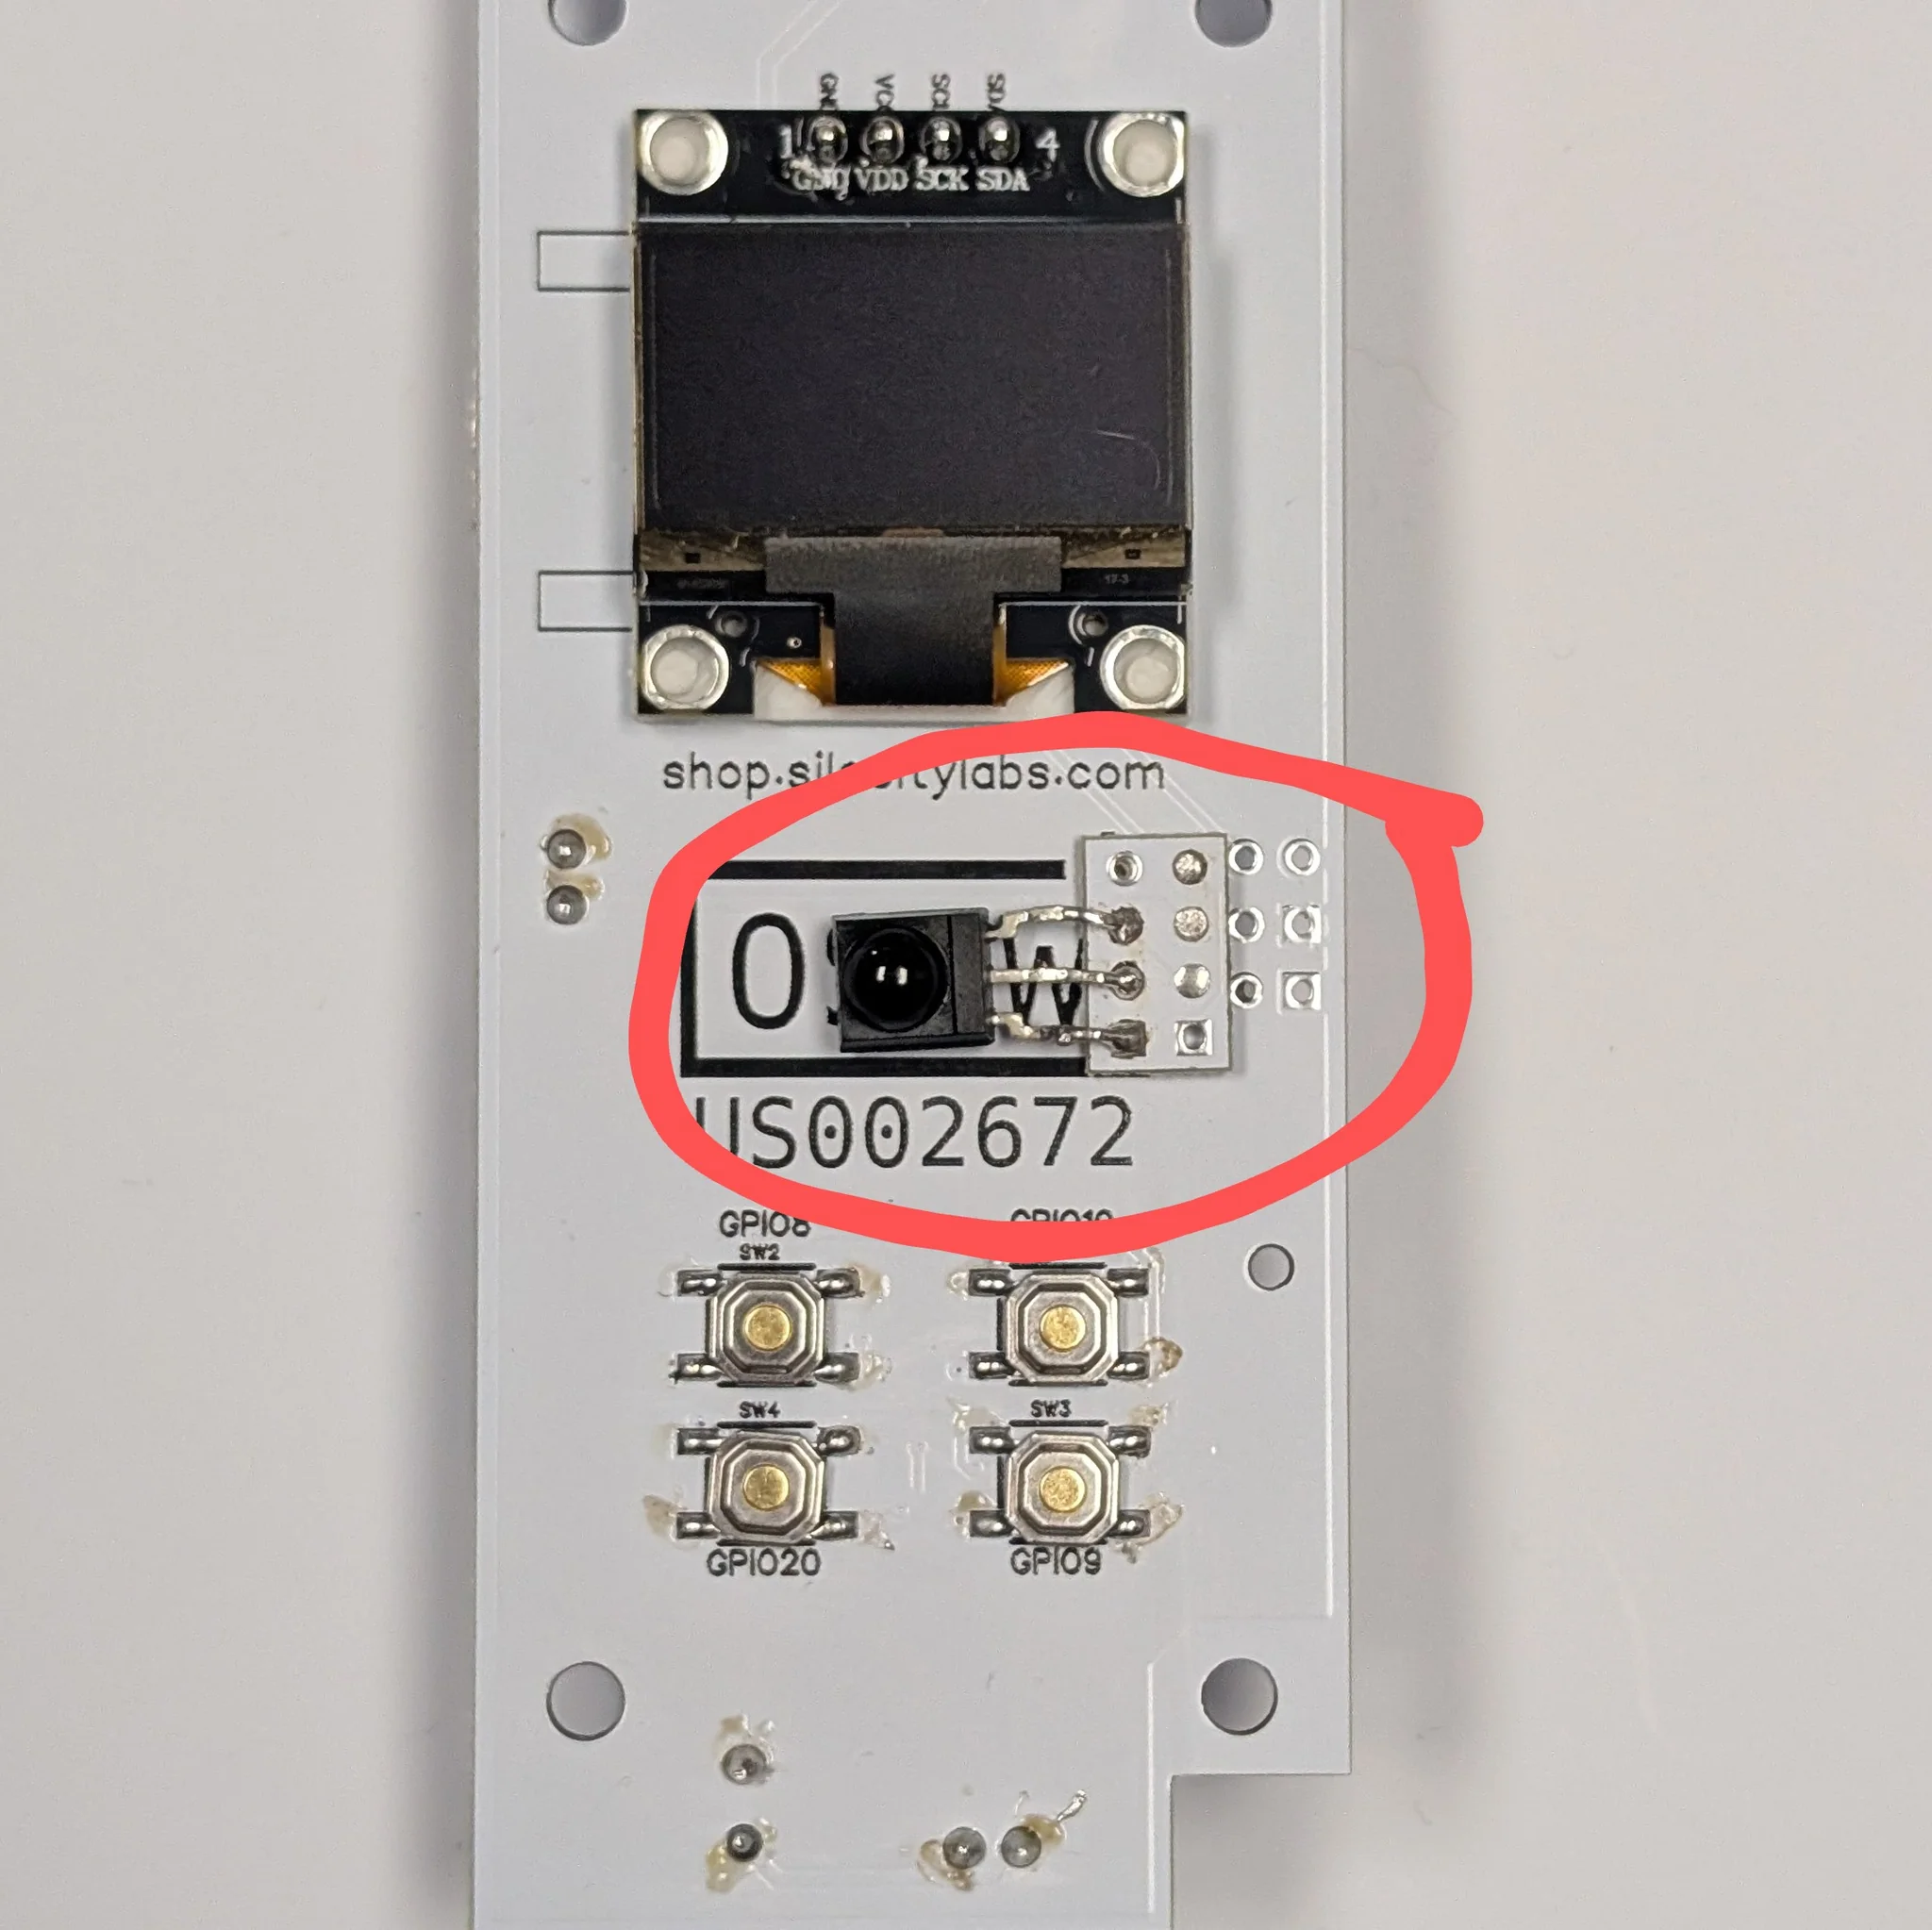
The Gen3 firmware relies on the IR sensor used on the original OEM control board. If you still have your original board, you can remove its IR sensor and solder it onto the Gen2 ESP32 module. The wiring is simple. Connect the sensor to pin D1, GND and 3.3 V. Once attached, the module supports the latest firmware features used in the Gen3 AirTap vent.
If you no longer have your original board or do not have the screws needed to mount the parts, you can purchase the full upgrade kit here:
https://shop.silocitylabs.com/products/Gen3-upgrade-kit-for-ac-infinity-airtap-t4-t6
This kit includes everything required to retrofit a Gen2 module into a Gen3 AirTap assembly.
Plug and Play Option
For users who want the quickest path to a Gen3-ready module, we also offer a complete ESP32 board that arrives with the IR sensor already soldered. This option removes the need for any board modification and is ready for installation as soon as it arrives.
You can purchase the complete module here:
https://shop.silocitylabs.com/products/esp32-module-for-ac-infinity-airtap-t4-t6
Installation Guide for Converting a Gen2 Module to Gen3 Compatibility
Follow the steps below to complete the retrofit using the bracket and IR sensor upgrade.
-
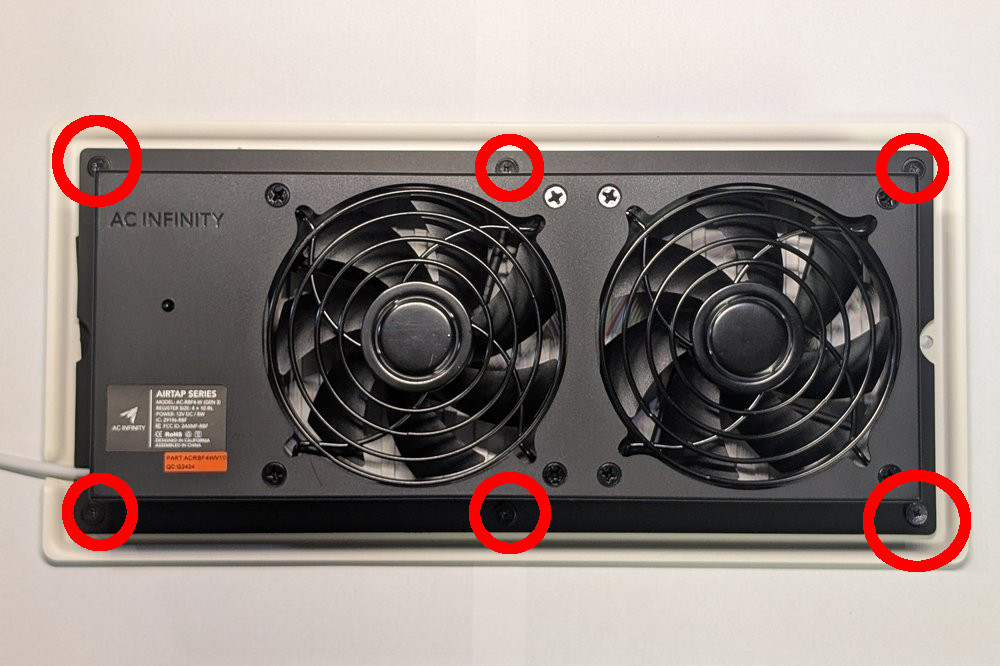
Remove the six rear screws from the vent.

-
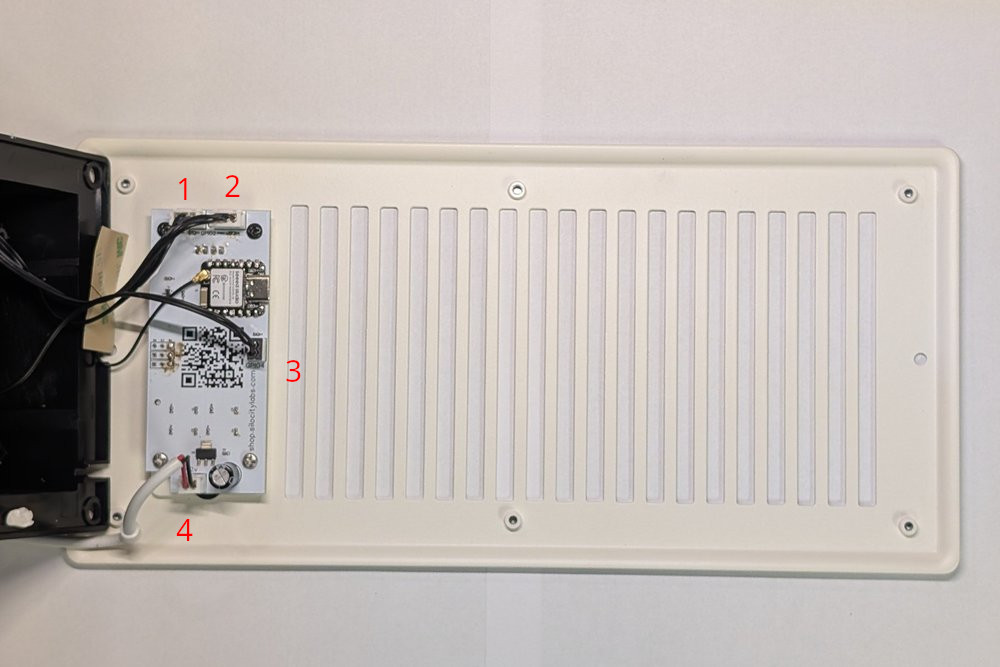
Disconnect the power, fan and NTC cables. Some may be glued, use caution removing not to tear cable. Use pry tool to seperate glue.
-
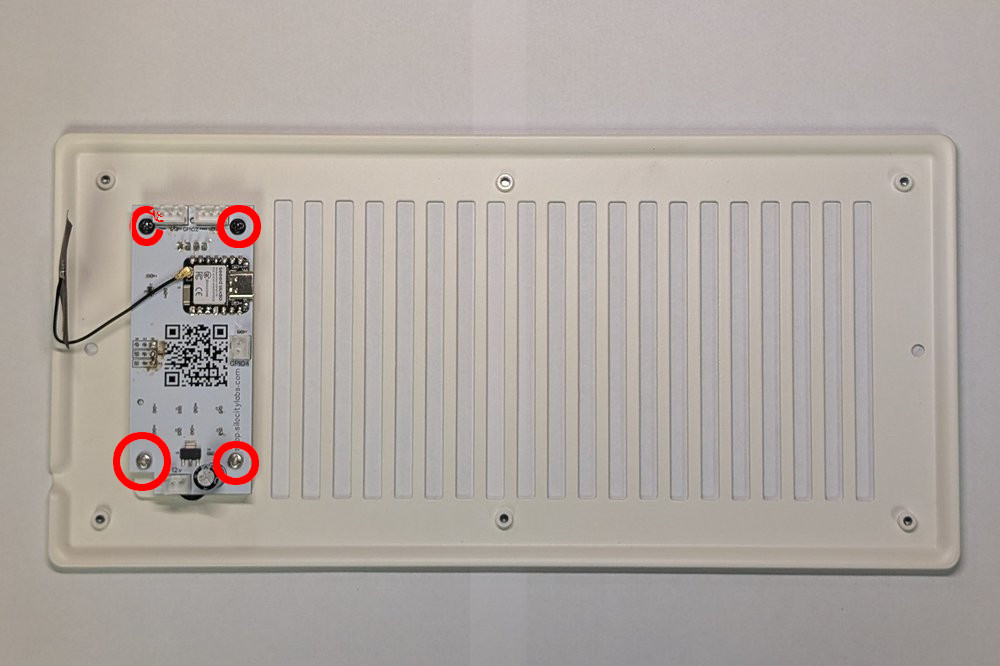
Unscrew and remove the PCB.
-
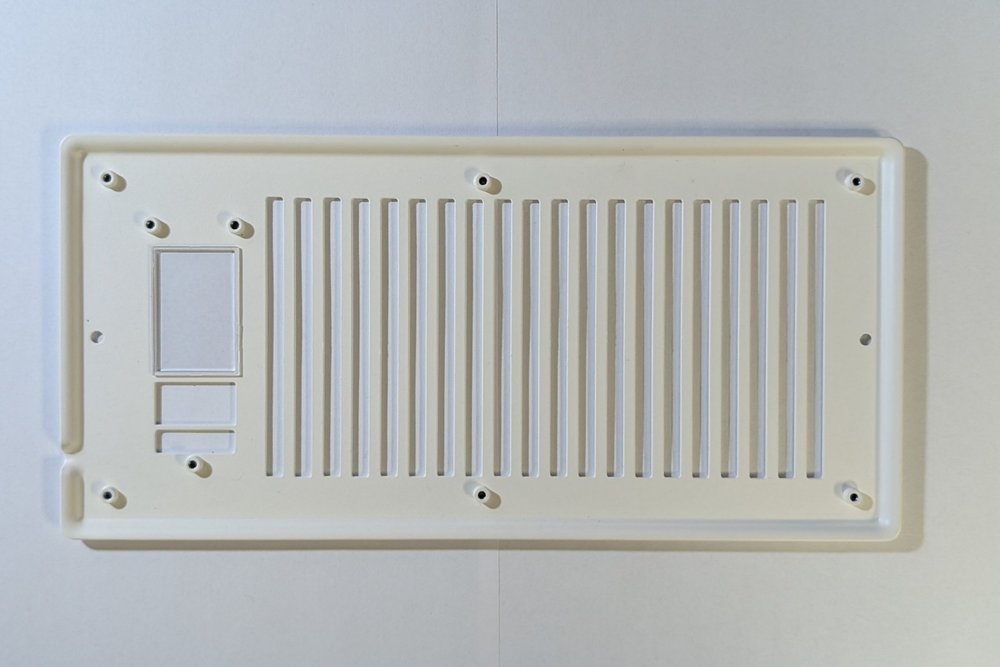
Take out the original bracket and leave the clear display shield.
-
Attach the first bracket withouth button holes.
-
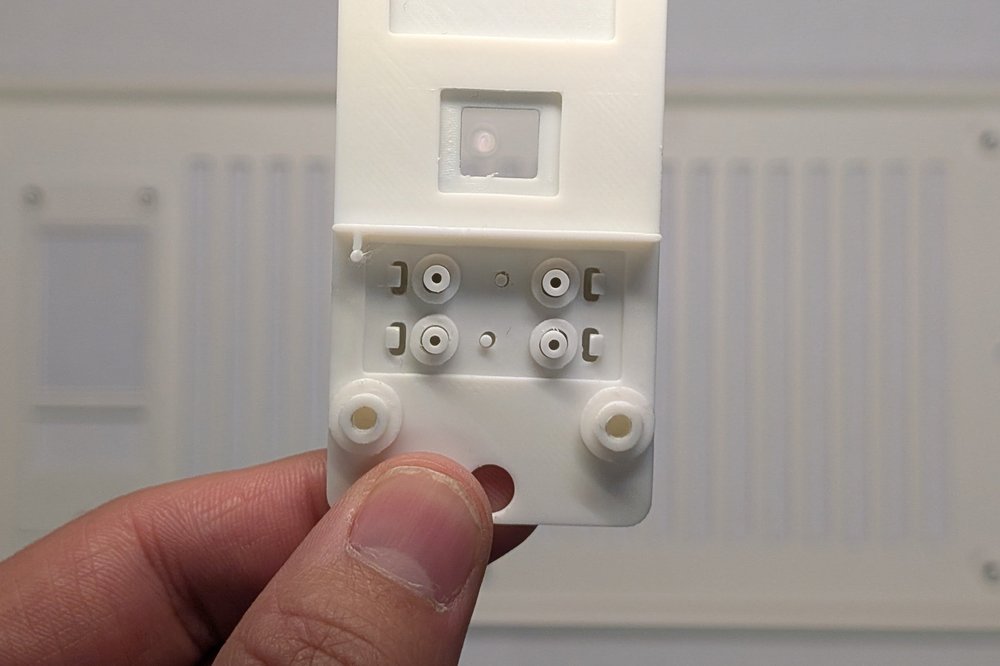
Remove the buttons from the old bracket. Handle the springs carefully. Attach the buttons to the new bracket.
-
Install the second bracket with buttons facing out.
-
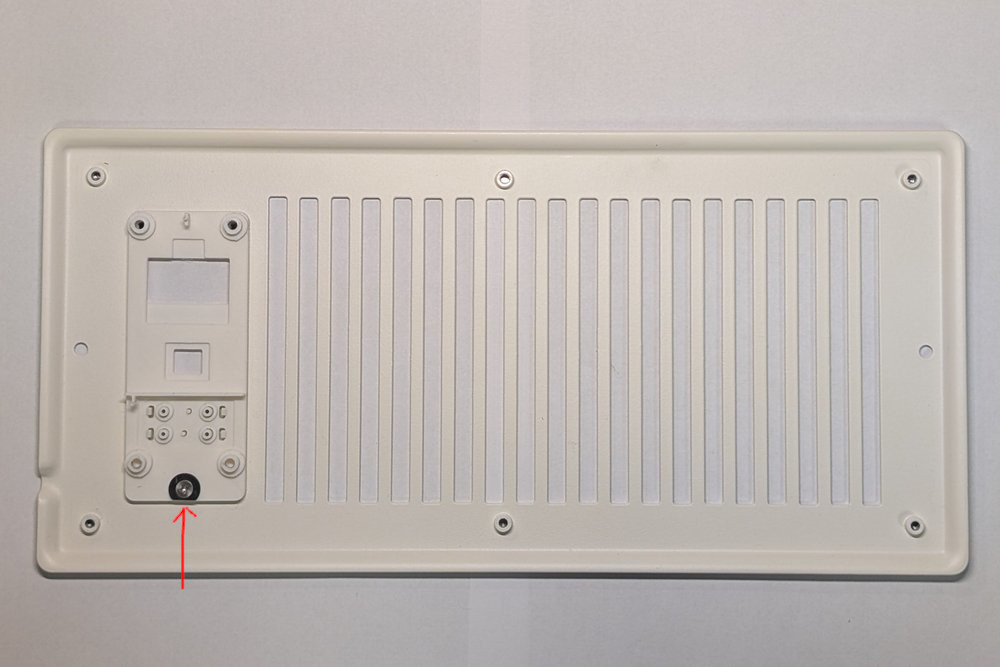
Install the IR to D3 pinout using the reverser pcb. Center to pcb and OSHW logo.
-
Use plastic washer and small M3x3 Flat Screw provided.
-
Install top original black screws and two new M3x4 screws provided.
-
Reconnect all cables.
-
Reinstall back pannel and 6xM3x4mm flat screws.

Bringing Gen2 Hardware Into the Gen3 Era
With the right bracket and the correct IR sensor connection, your Gen2 ESP32 module becomes fully compatible with the Gen3 AC Infinity AirTap T4/T6 vent design. Whether you choose the bracket alone, the complete upgrade kit or the plug and play module, the retrofit process is straightforward and gives you access to the latest firmware and smart home features.
Enhance Gen2 Usability by Adding IR Sensor
The IR sensor can also be added to Gen2 boards without the brackets and work within Gen2 vents. Simplify your AirTap setup by allowing one remote to control both Gen2 and Gen3 vents.