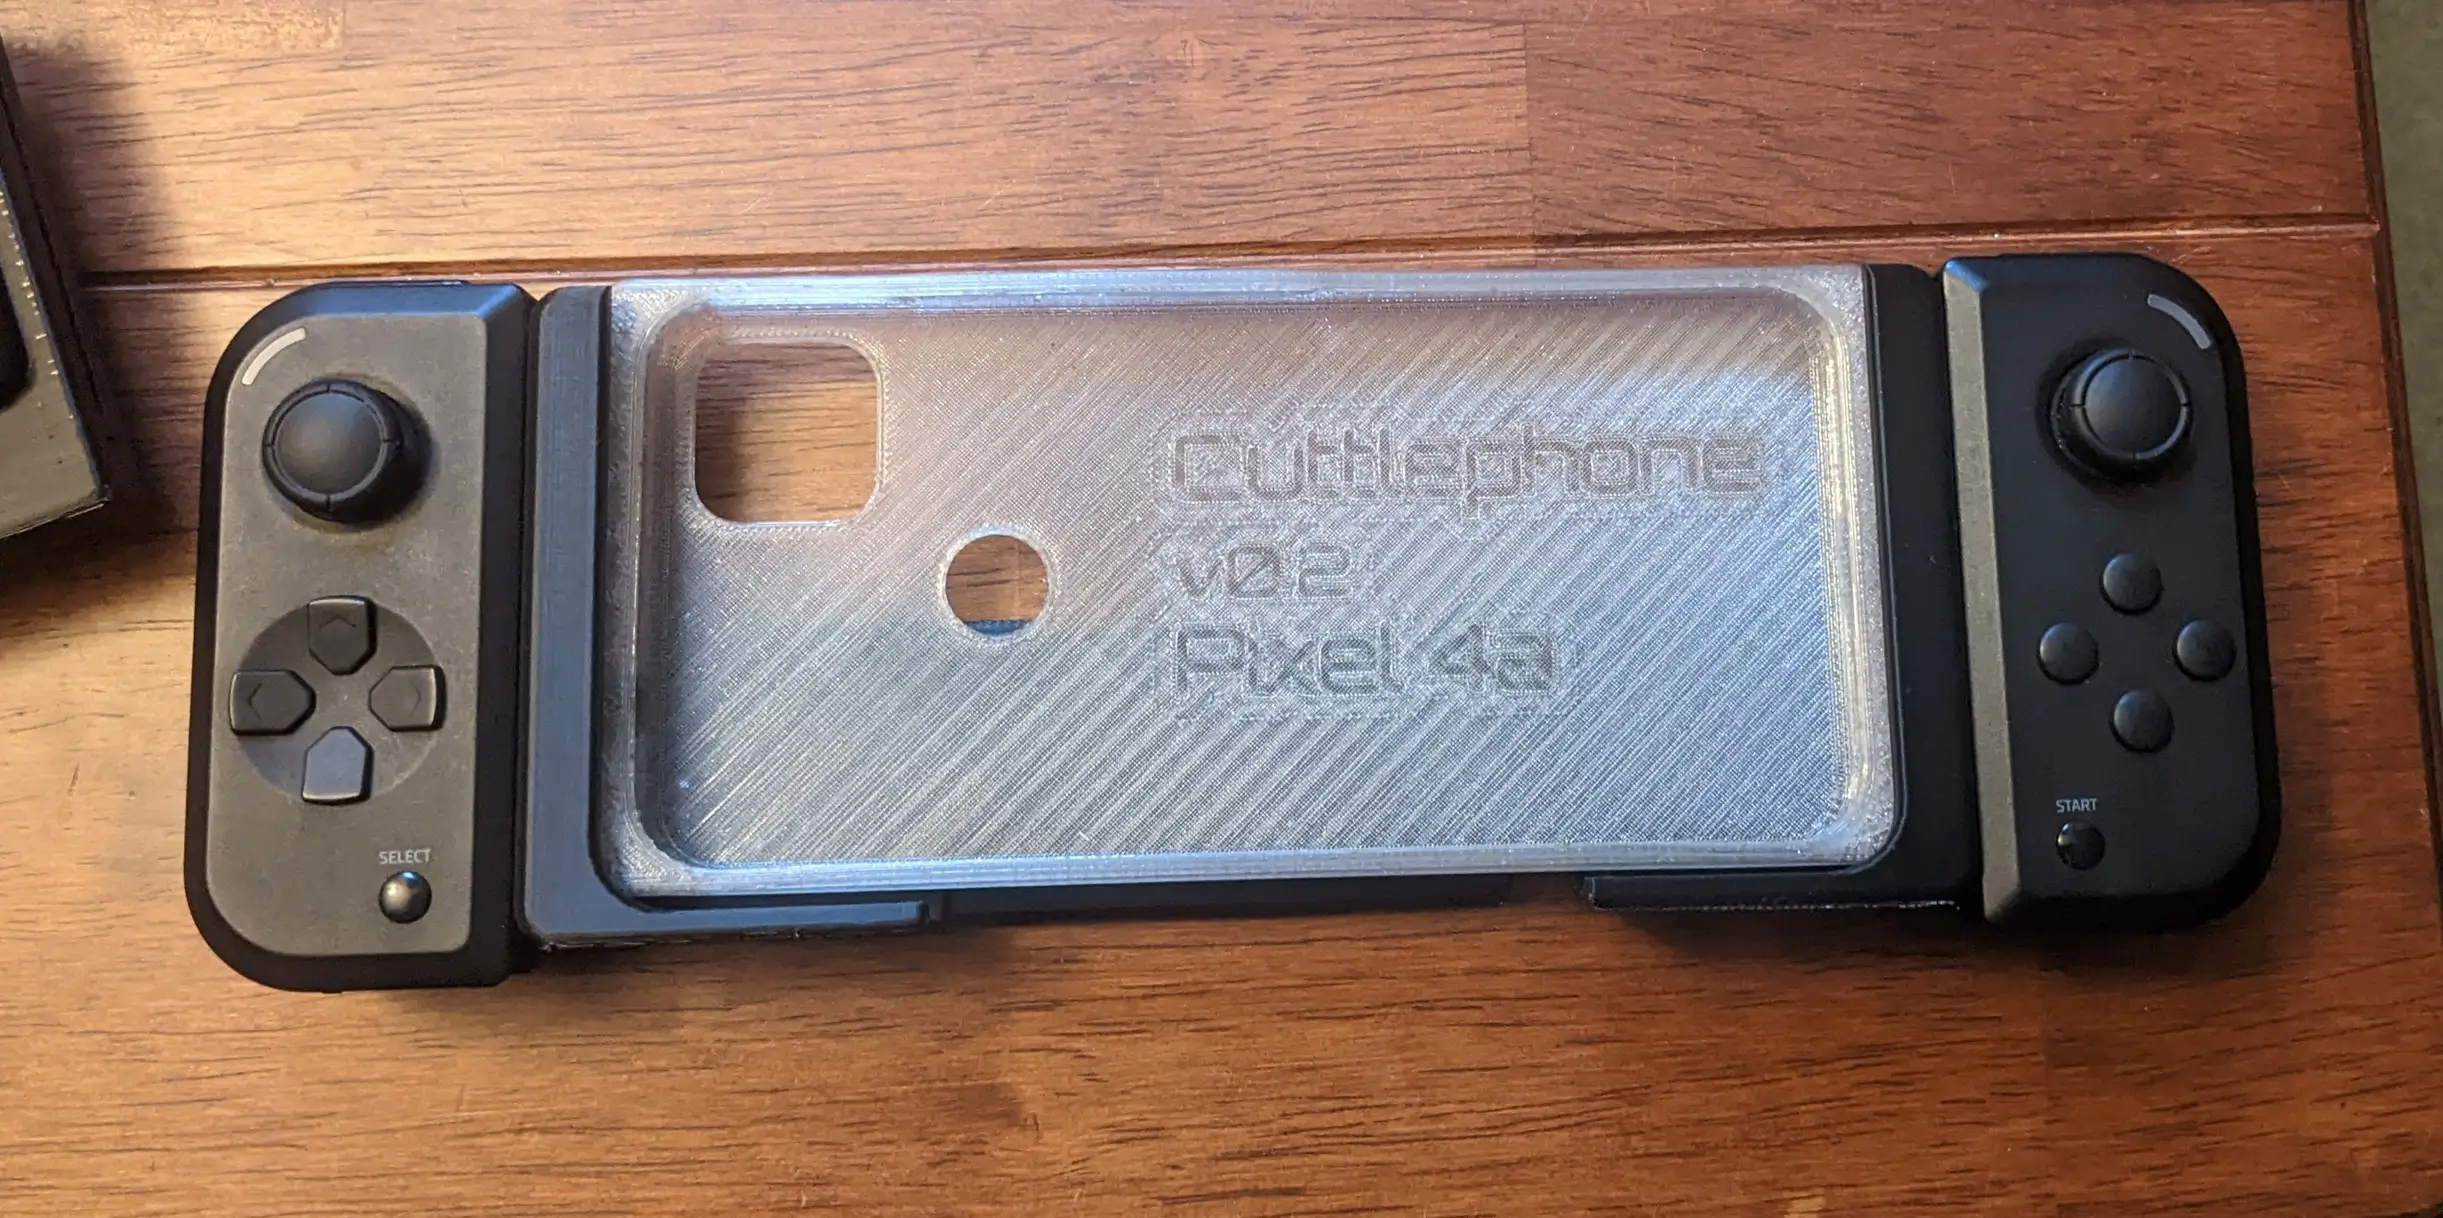
Out of all the things the Cuttlephone can shape shift into, the universal controller adapters have been the most popular. The two-piece design can fit onto most phones and attach Nintendo Joy-Cons or Razer Junglecat controllers. It clamps on using a rubber band. This simple design expands the potential userbase far beyond the handful of phone models available. Universal adapters will now be a staple feature of Cuttlephone. Let’s take a look at the design and 3D printing of this adapter.
Design
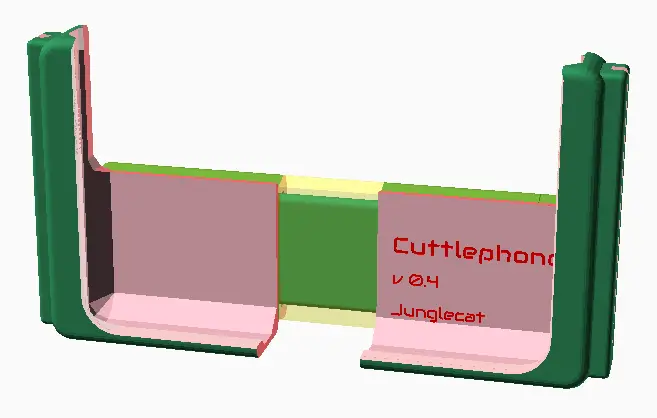
The main body is sort-of a phone case with controller rails. It’s rotated upright and the top is chopped off to fit any width of phone. The back is chopped further which saves plastic and enables the use of foldable phones/tablets with thick hinges. The phone body shape, which defines the inside of the case, has angled bevels so that it holds various thicknesses of phone without wobbling.
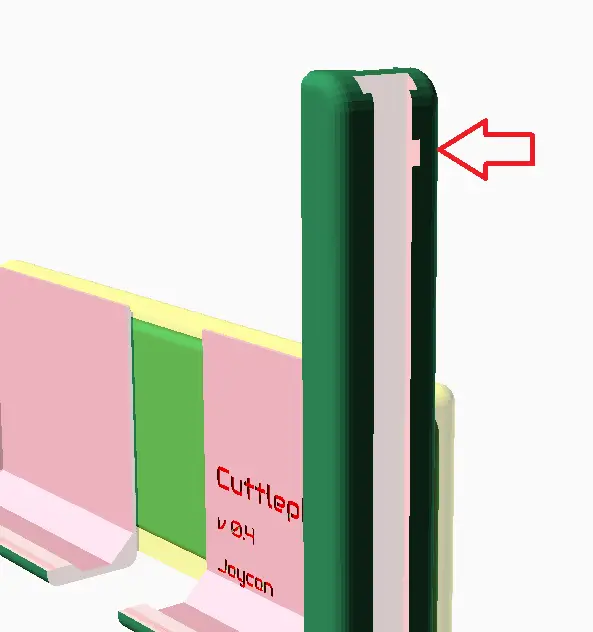
A top down view of the chamfer:

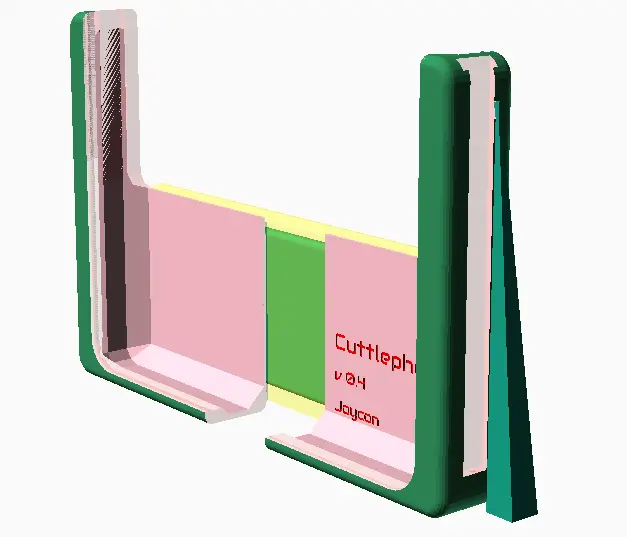
The telescoping geometry attaches to the back of the case. The outer “sleeve” has an angle which holds on to the rubber band. The inner “slider” slots into the sleeve. The telescoping geometry is split towards one side to maximize the length of the slider. The phone case is split down the middle. In the middle you can see a translucent window that aided development.
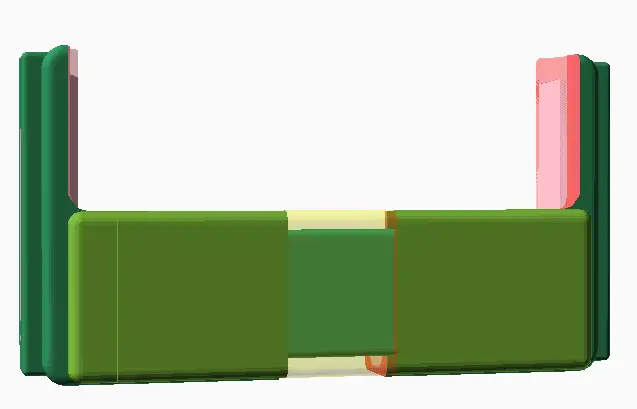
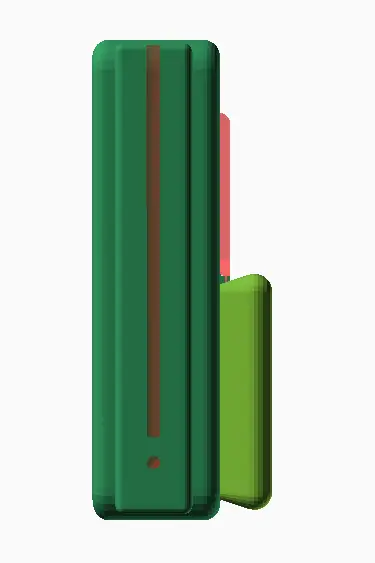
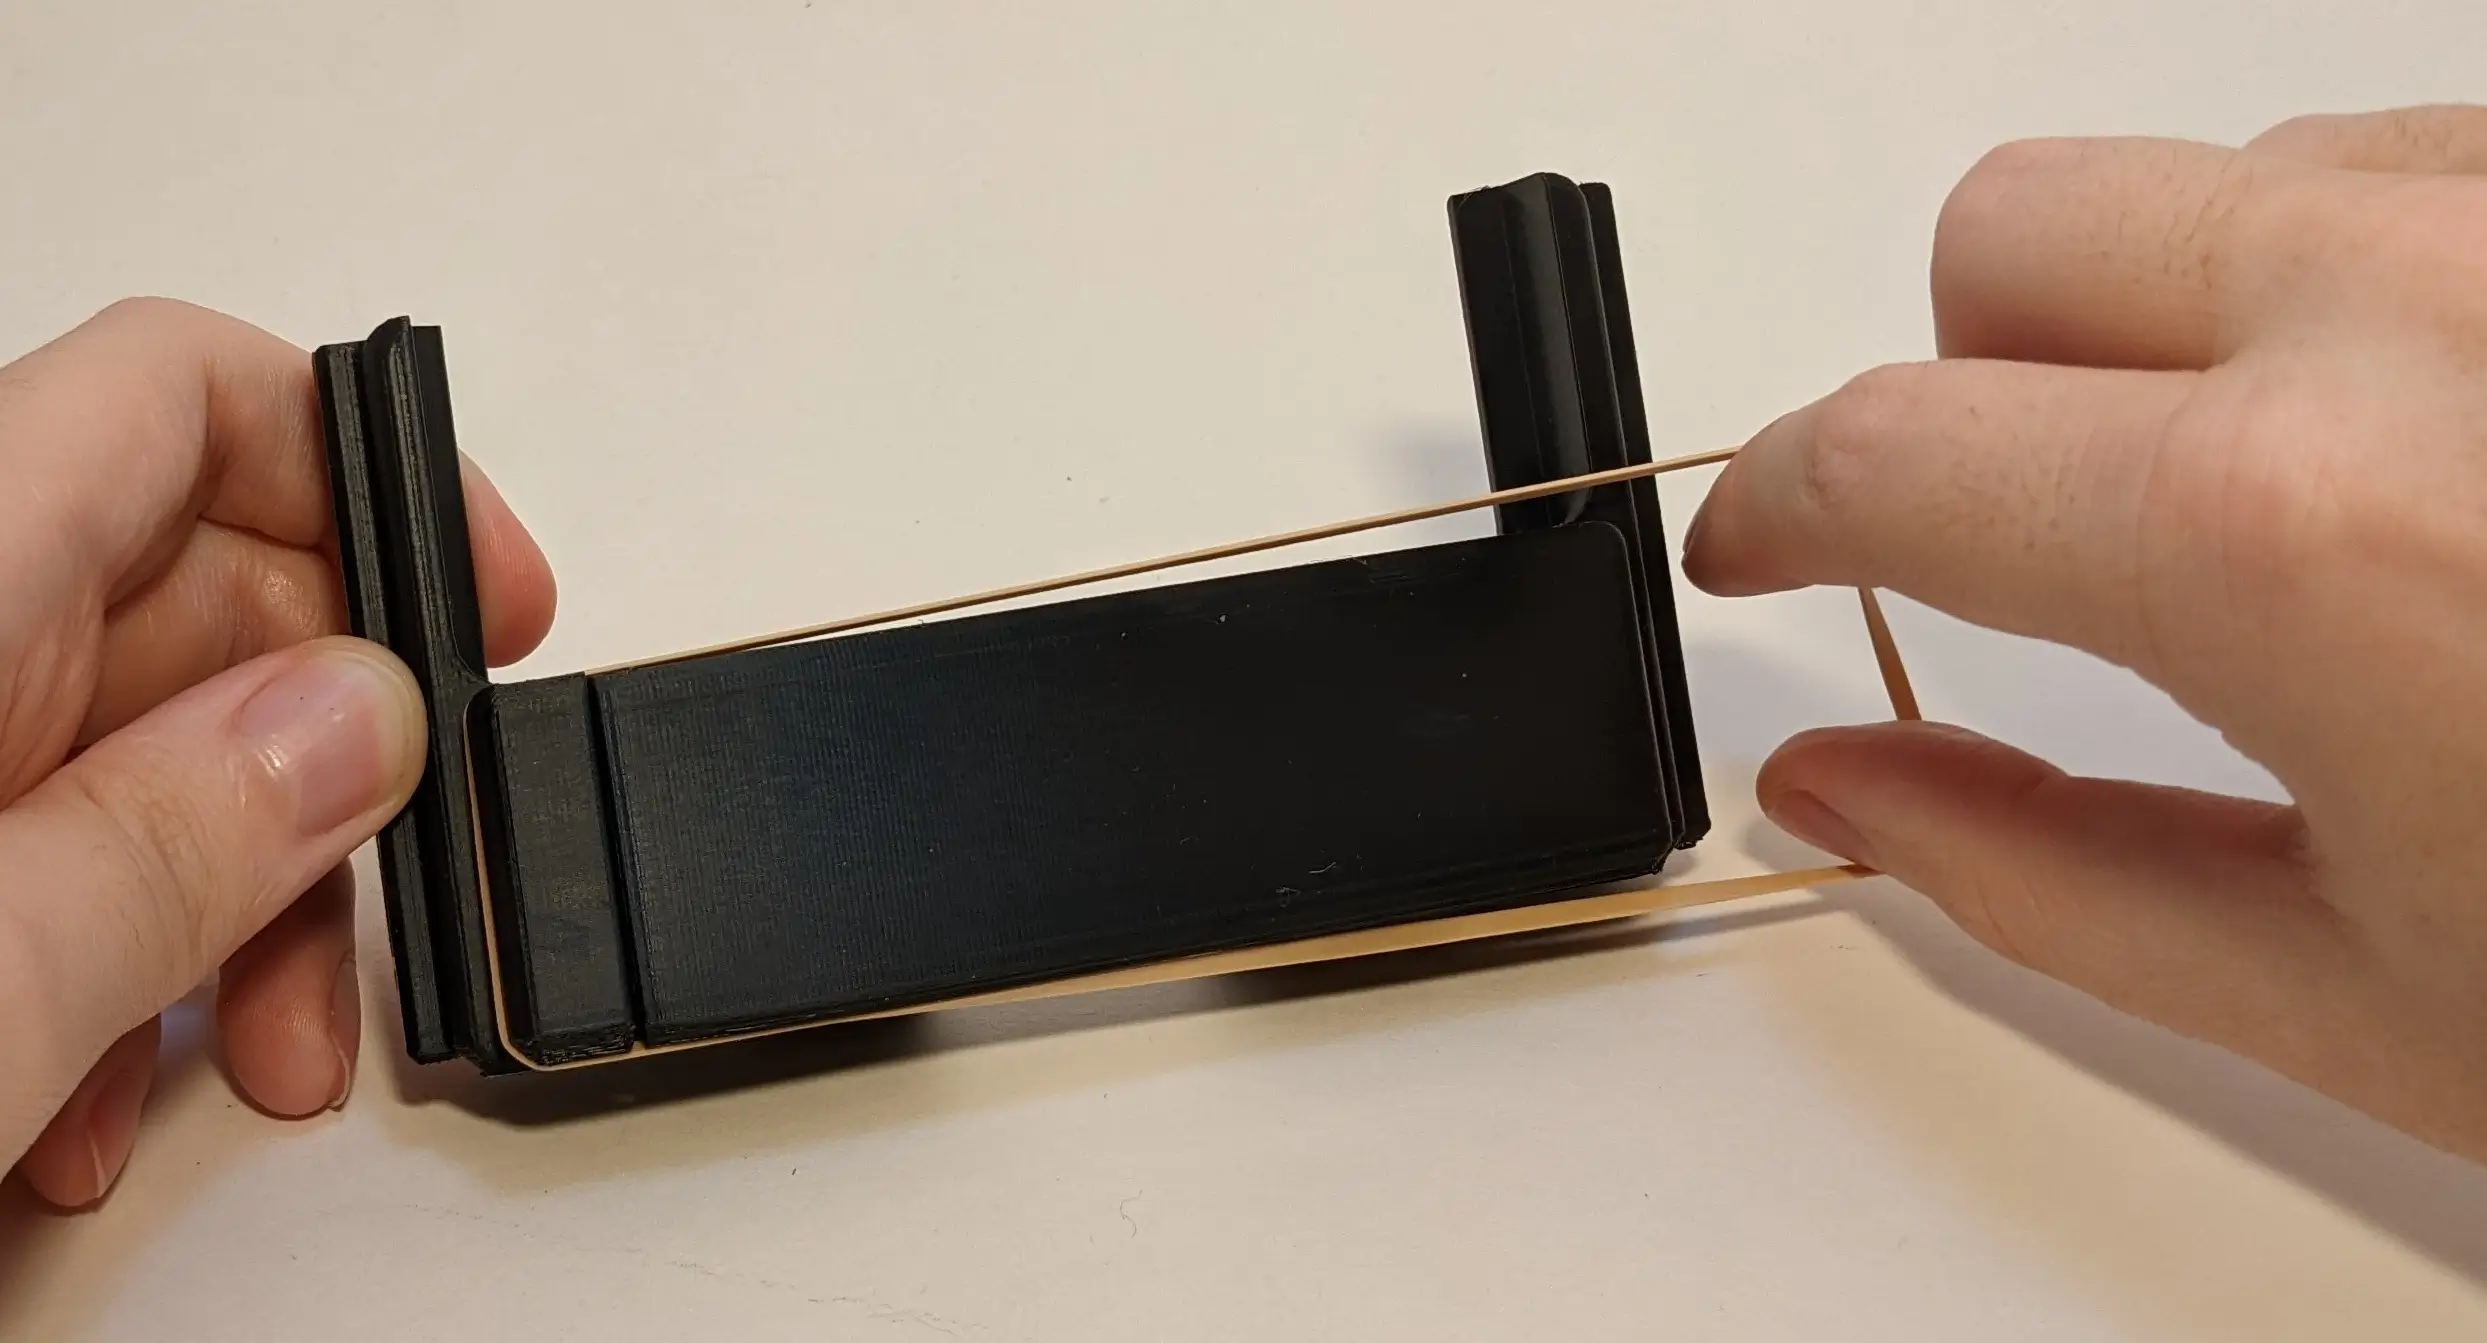
Since the design is parametric, this telescoping slider can scale to many sizes. It can be a small vertical phone holder or a wide tablet adapter. New controller rails can be made.
Making this feature revealed a few deficiencies in my OpenSCAD code. For example
- in Joycon mode it was difficult to align the clamp with the back of the phone case. This revealed some janky position calculation caused by the extra-thick Joycon shell. Fixed.
- the “screen” cut intersects with the “body chamfer” cuts, creating an ugly corner which almost looks like broken geometry. Fixing this will require a revamp of the body shape, a revamp which could also address curved-screen phones.
- splitting the two halves required some clever use of “intersection” to mask areas I did/didn’t want cut
- I’d like to set up the model for printing. However I cannot move the parts idenpendently within OpenSCAD since they were cleaved from a single object. I’d have to duplicate my object to make a left side and a right side.
Feature creep is a big temptation now. I’d like a more professional design, like a spring inside and tabs to prevent separation. Also customer requests: “Can you add wireless charging?”, “Can you add speaker holes? How about cooling vents?”, etc. I have to limit the amount of features I add now because it’s complicating the code. The OpenSCAD code is all in 1 big file, variables galore, and it deserves refactoring.
3D Printing
To 3D print this yourself, get 3D models at Cuttlephone.com and check out the print guide.
Use any other ductile filament like PLA+, PETG, or ABS/ASA. Plain PLA will crack. In your slicer, separate the two halves. Then add supports on the build plate only, supporting the telescoping portion and Junglecat.
I print it on a Prusa i3 mk3 with a 0.4mm nozzle, typically at 0.2mm layer height. I’ve also printer with an Ender 3 Pro, it just needs a good tune, particularly pressure advance. A draft shield will reduce warp with PLA+. Warping can cause the telescopic slider to detach from supports and bend upward.
The Joy-Con adapter includes a spire-shaped manual support for the rail’s lock notch. Regular supports ripped off my thin rail. Tree supports may work - untested.
Shop
No printer? No problem. Get one from the shop.